Understanding Jumper Wires
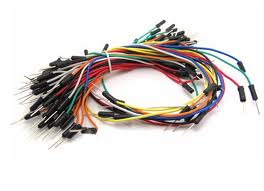
A bundle of jumpers
Jumper wires are an essential part of prototyping. Used in tandem with a breadboard they let you quickly connect components to the PINs of your microcontroller to form circuits.
There’s not much to say about them, but there is good practice for using them
Tips on using jumper wires
Things can get messy fast, especially when you start to use a lot of components or build complicated circuits. Using jumper wires in a smart way can help take some of the headaches out of sanity checking your circuits.
Using color coding is breathtaking simple but will save you so much time in the long run.
The two most normal conventions are:
-
Black (or sometimes Blue): This denotes a wire running directly to Ground (GND)
-
Red: This is connected to a source of power. Normally running from the 3.3V on your Particle board.
When working with other components, choose a consistent color. For example if working with an RGB led, you might use a Green, Orange (because red is for power) and Blue cable to connect to each of the color terminals on the LED.
Servos normally have three wired connections, brown/black, orange/red and yellow. Match the colors. Match the jumper wires connecting to your breadboard to make it quick and easy to check connections…
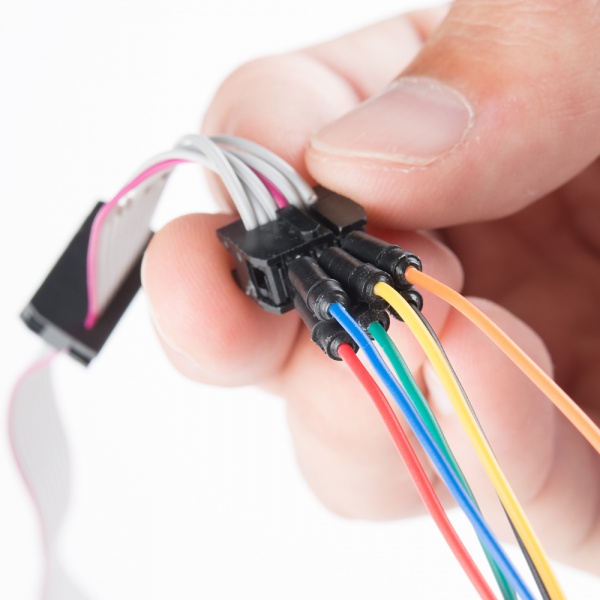
It’s good practice to color code connections with jumper wires.