Working with the Particle Cloud and Functions
The Particle Cloud makes it really easy for you to distribute access to your microcontroller. One of the best ways to do this is by making a function of your interactive device available through the cloud framework.
Exposing Functions
Connecting functions in our sketch to the cloud only take a few lines of code. Once you add them, you can call your function remotely from a webpage, via an API call or from another device.
Imagine we have made an interactive thermostat. We want to be able to change the temperature without pushing buttons on our device directly. With the Particle Cloud API, we can connect a mobile app or a webpage to these functions.
First we need to create a function. Imagine your sketch is set up like this:
void setup() {
  // Set up Pins, etc.
}
void loop() {
  // check sensors, etc. continuously.
  // respond to them
}

int setTemp(String args){
   // parse temperature from args
   // do nothing if its already set to that temperature
   // change the thermostat to the new temp
   // update the display
   return statusCode;
}
We add the needed function setTemp which returns an integer value.
Now it takes us one line of code to make this available online
void setup() {
  // Set up Pins, etc.
  Particle.function( "setTemp", setTemp );
}
void loop() {
  // check sensors, etc. continuously.
  // respond to them
}

int setTemp(String args){
   // parse temperature from args
   // do nothing if its already set to that temperature
   // change the thermostat to the new temp
   // update the display
   return statusCode;
}
With one line of code we have created an online API for our function which can be called from any internet connected device or application.
Particle.function takes two parameters. The first is what the function is named online. The second is which function it maps to in the Sketch code. These don’t have to match. For example, we could do the following: and it would work just the same.
void setup() {
  // Set up Pins, etc.
  Particle.function( "setNewTemp", setTemp );
}
Accessing Functions
First deploy your Sketch to the microcontroller.
Using Particle Console
Open a new tab in your browser and visit http://console.particle.io. This is the console. It allows you to explore your devices and see what they’re up to.
From the devices list, choose your Photon by clicking on it. You’ll see a screen like this
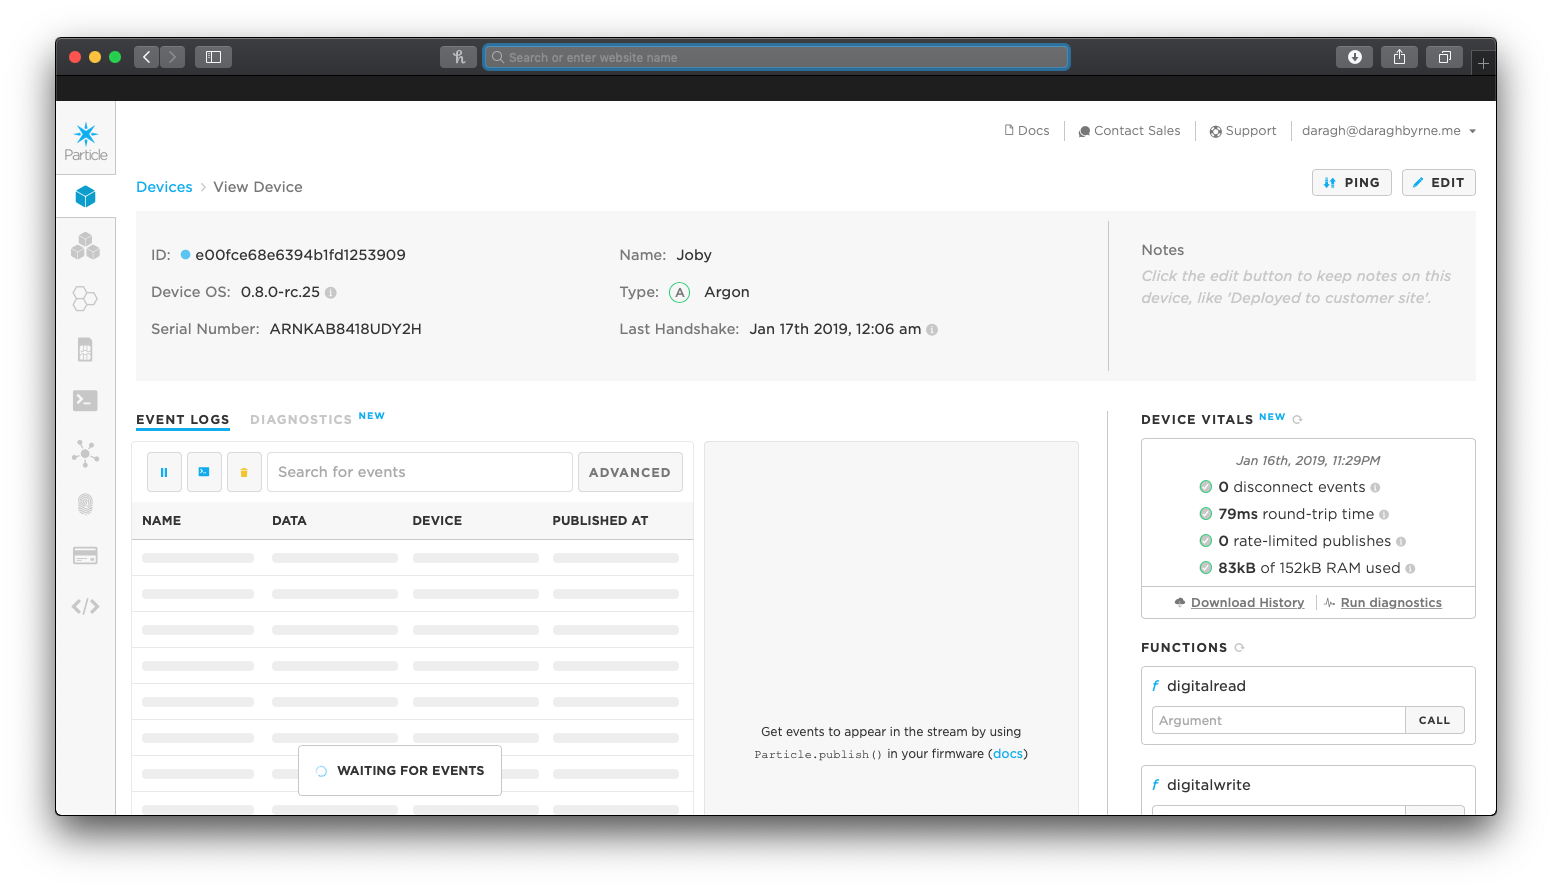
On the right hand side you’ll be able to access Cloud Functions. You can interact with them directly through that console and get example responses.
Using REST
The Particle framework automatically creates a REST based API for us - or a structured way to call it via the internet. To access the function, we make a HTTP POST request as follows
POST /v1/devices/{DEVICE_ID}/{FUNCTION}
Where {DEVICE_ID} is replaced with the Device ID number and {FUNCTION} is replaced with the function name you gave it (the bit in quotes). If you don’t know your Device ID, you can find it at http://particle.io/build
This is how mobile devices or other internet applications would connect to it.
It takes two parameters:
-
access_token : Generate one from particle.io/build
-
args: Pass in variables as a comma separated string for your function
Using Terminal + cURL
Open up the Terminal Utility by visiting your Applications folders. You’ll find it in the Utilities sub-folder.
From the command line use the in-built cURL library to make a call to the REST API.
# EXAMPLE REQUEST
curl https://api.particle.io/v1/devices/[deviceID]/setTemp \

     -d access_token=[access_token] \

     -d "args=72,60"
Notes about naming your functions
Naming Cloud Functions
If you have declared a function name longer than 12 characters it will be truncated to 12 characters.
someIncrediblyLongFunctionName() becomes someIncredib()
Learn More:
Read up on the Particle Cloud API at http://docs.particle.io/api/