In this section, we’ll look at connecting an IFTTT Service to a Particle Cloud Function.
Within this example, some IFTTT-connected service will act as a trigger i.e. the “If this”. This could be any number of things including receiving an email with a particular title or from a sender, you move into or leave a specific geographic location, you send a text message to IFTTT, etc.
Once the trigger is received, we’ll use this to invoke the Particle Cloud function and perform an action on our Particle microcontroller in response.
How Cloud Functions Work
Let’s start by recapping, Particle Cloud Functions.
We’ve seen that the Particle Cloud Functions allows for something else online to talk to our device and control a block of code within our program.
We’ll invoke Particle.function` in our setup and provide a named for function in the cloud that will appear online, and a reference or mapping to a block of code that it’s mapped on to within our program
void setup()
{
  // register the cloud function
  Particle.function("brew", brewCoffee);
}

// this function automagically gets called upon a matching POST request
int brewCoffee(String command)
{
    // some example functions you might have
    //activateWaterHeater();
    //activateWaterPump();
    return 1;
  }
  else return -1;
}
From Particle.io - https://docs.particle.io/reference/device-os/firmware/photon/#particle-function-
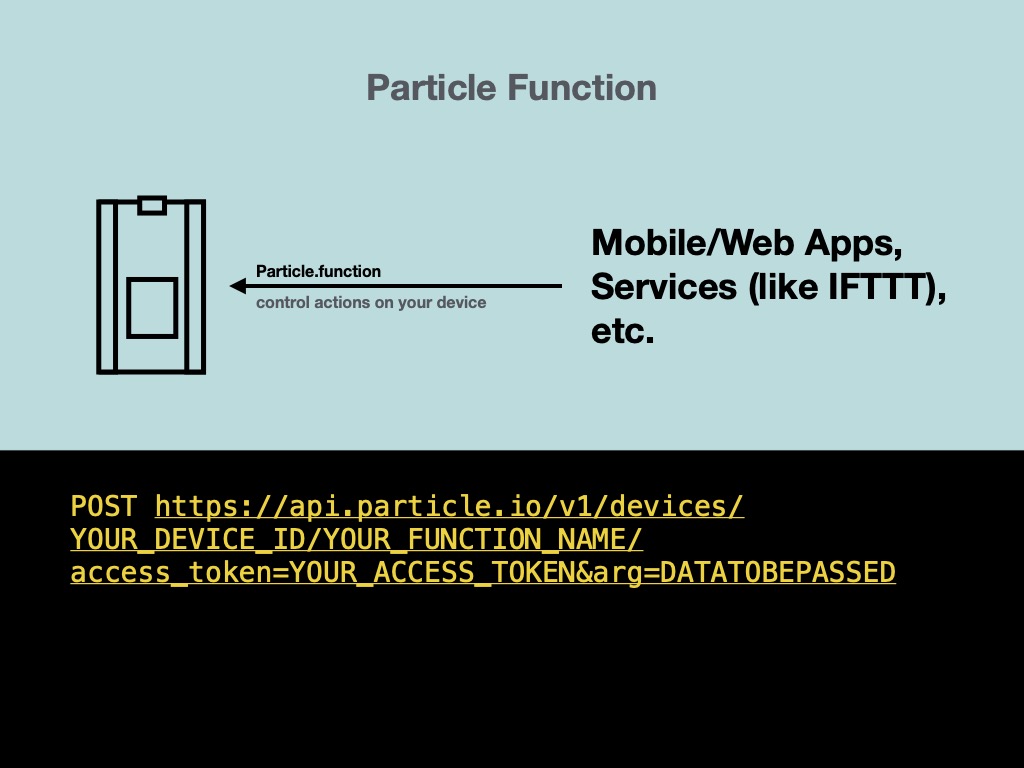
How a Particle Cloud function works.
What you might not know is that in the background, the Particle Cloud is creating a structured URL (or more simple a web links) that can be used to kind of access that clodu function. S
So in the code, when you write Particle.function, it’s connecting to the Cloud service and setting up a an API endpoint, where other devices can access that information.
That is, as depicted above something like “https://api.particle.io/v1/devices/YOUR_DEVICE_ID/YOUR_FUNCTION_NAME/”
- the long, alphanumeric ID of your device is used in place of “YOUR_DEVICE_ID”. You can find this on the Particle Console if you need to look it up.
- the ‘YOUR_FUNCTION_NAME’ is replaced with whatever the name you added in the
Particle.functionin your code e.g. “brew”
Anyone requesting this URL with the right device ID and function name will be able to trigger the code associated with the Particle.function to execute.
One final element that you need to give it is a developer access token. That developer access token is a unique token that identifies any request that is made to the Particle API as coming from a trusted account. Each access token is specific to a user account, so it can be used to access the functionality associated with devices on an account and make sure only those devices are accessed. The only way that a service should have this access token is that a developer provided to them; it provides a way to validate that it’s a trusted third party that should be able to access your devices.
You can optionally provide a piece of text (what you provide in the text box in the Particle Console) as query string argument and it gets sent down to that string command in the Particle.function.
Getting Started: Creating your Access Token
In order for us to connected IFTTT to our Particle function, we need to provide it with the access token: this is the credential or a key that identifies that that service has your permission to interface with your devices. A
In order to generate that token, you’ll use the Particle CLI
- On Windows, open the Command Line Prompt
- On Mac OSX, open the Terminal
To generate a new access token, type:
particle token create --never-expires
When you hit Enter, provide your password and it’ll generate that key or that token that you can provide to a bunch of services to connect. Keep that safe. You should never kind of put it anywhere public. It should look like a long alphanumeric key:
New access token never expires
    3b742eXXXXXXXXXXXXXXXXXXc407
Note: The --never-expires is an extra option to make sure the token won’t expire. If you don’t do this, you’ll need to update the access token every 90 days.
Getting started with IFTTT
Within IFTTT, there are a range of different kind of services or channels that you can use, and you’ll be able to explore them in on the Services tab
Some of them do need to be connected to an account. For example, Google Calendar will need to be connected to your Google Account to read your data and access information. Make sure before starting to work with a service, you’ll set it up first.
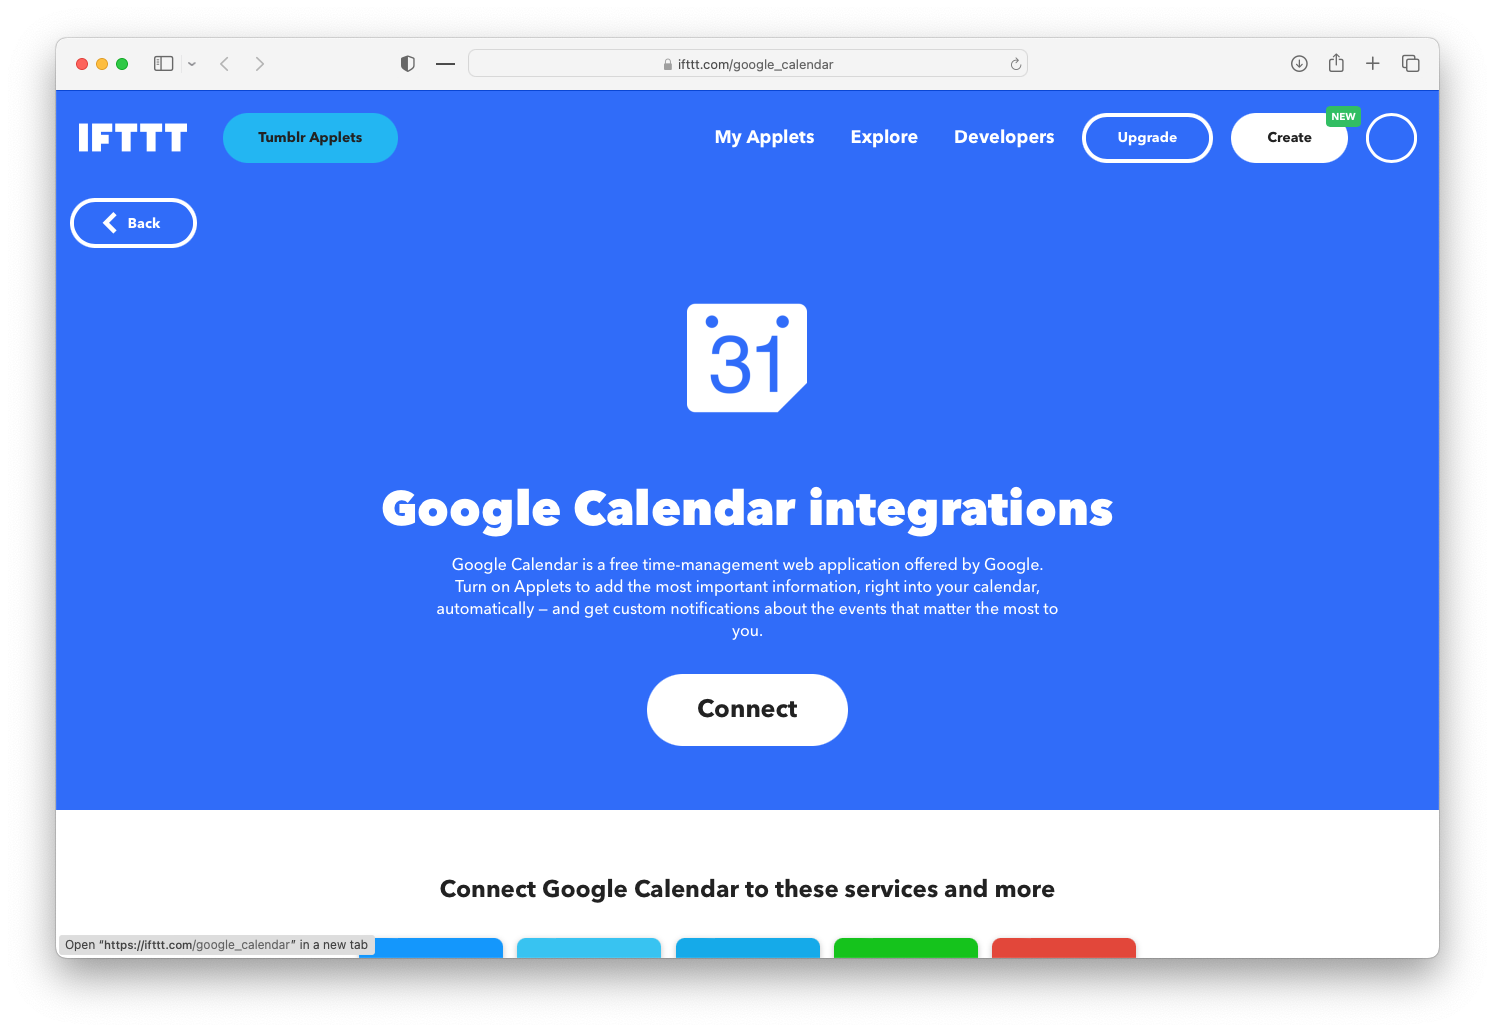
The service page for the Google Calendar
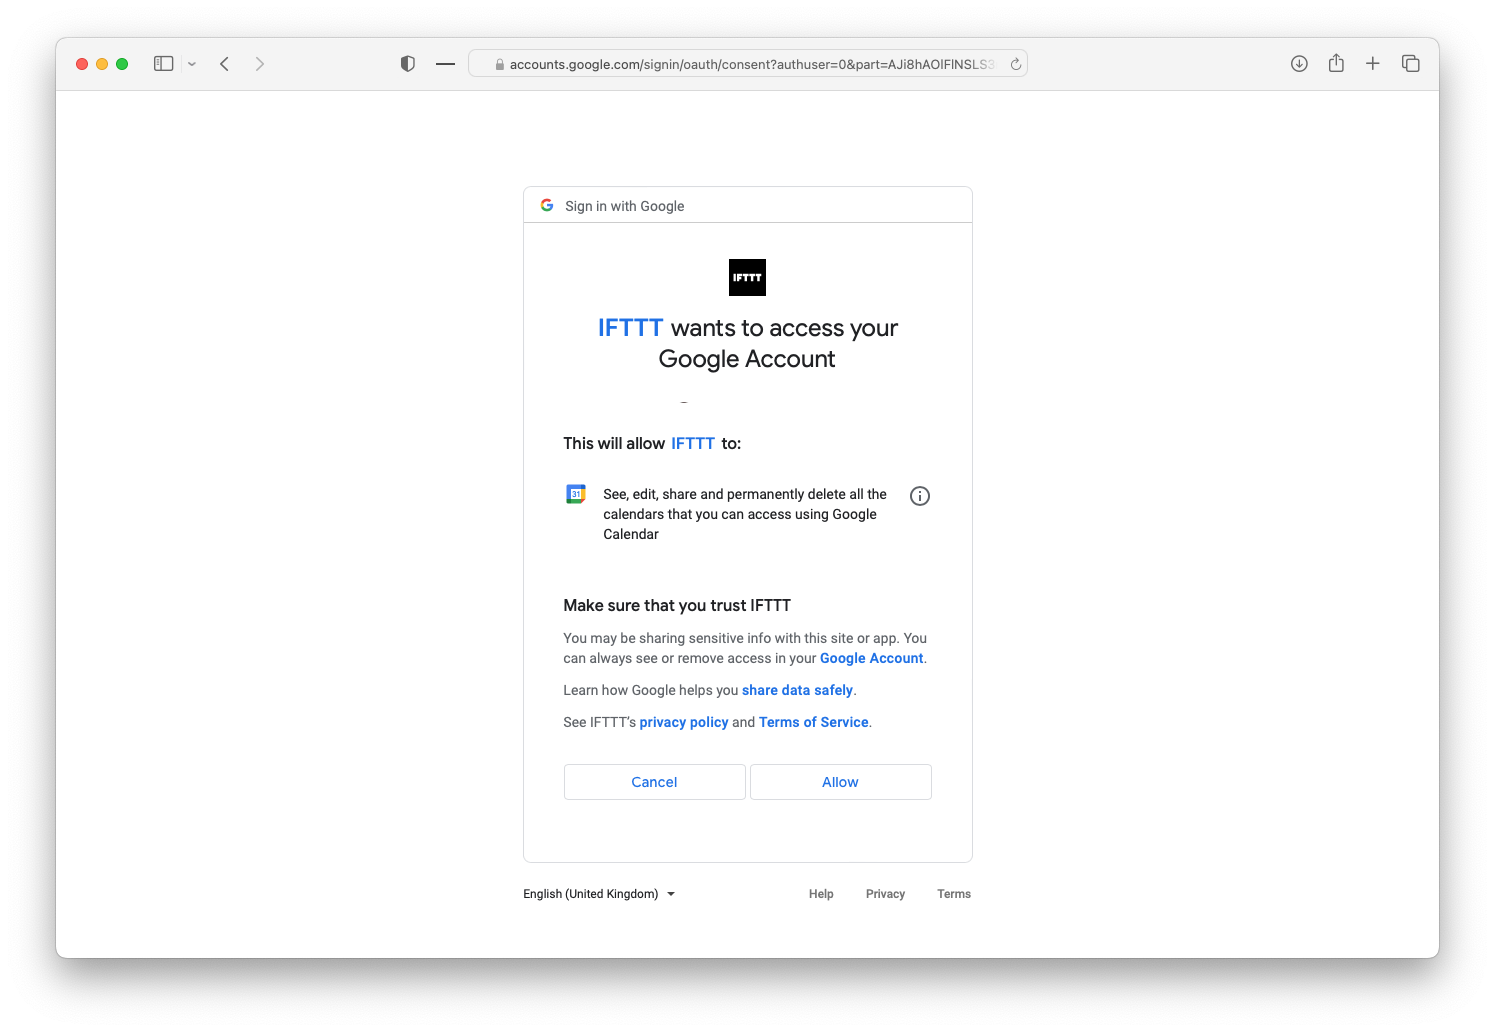
Once you’ve found a service you want to work with, click Connect and follow the prompts to give it access to your account on that service. You should see a prompt like this
The service page for the Google Calendar
Once your Google Calendar integration is set up, we can start to use it’s features. These are summarized below and there’s quite a range of them. Viewing the Details tab on the channel page will let you explore the possibilites it has.
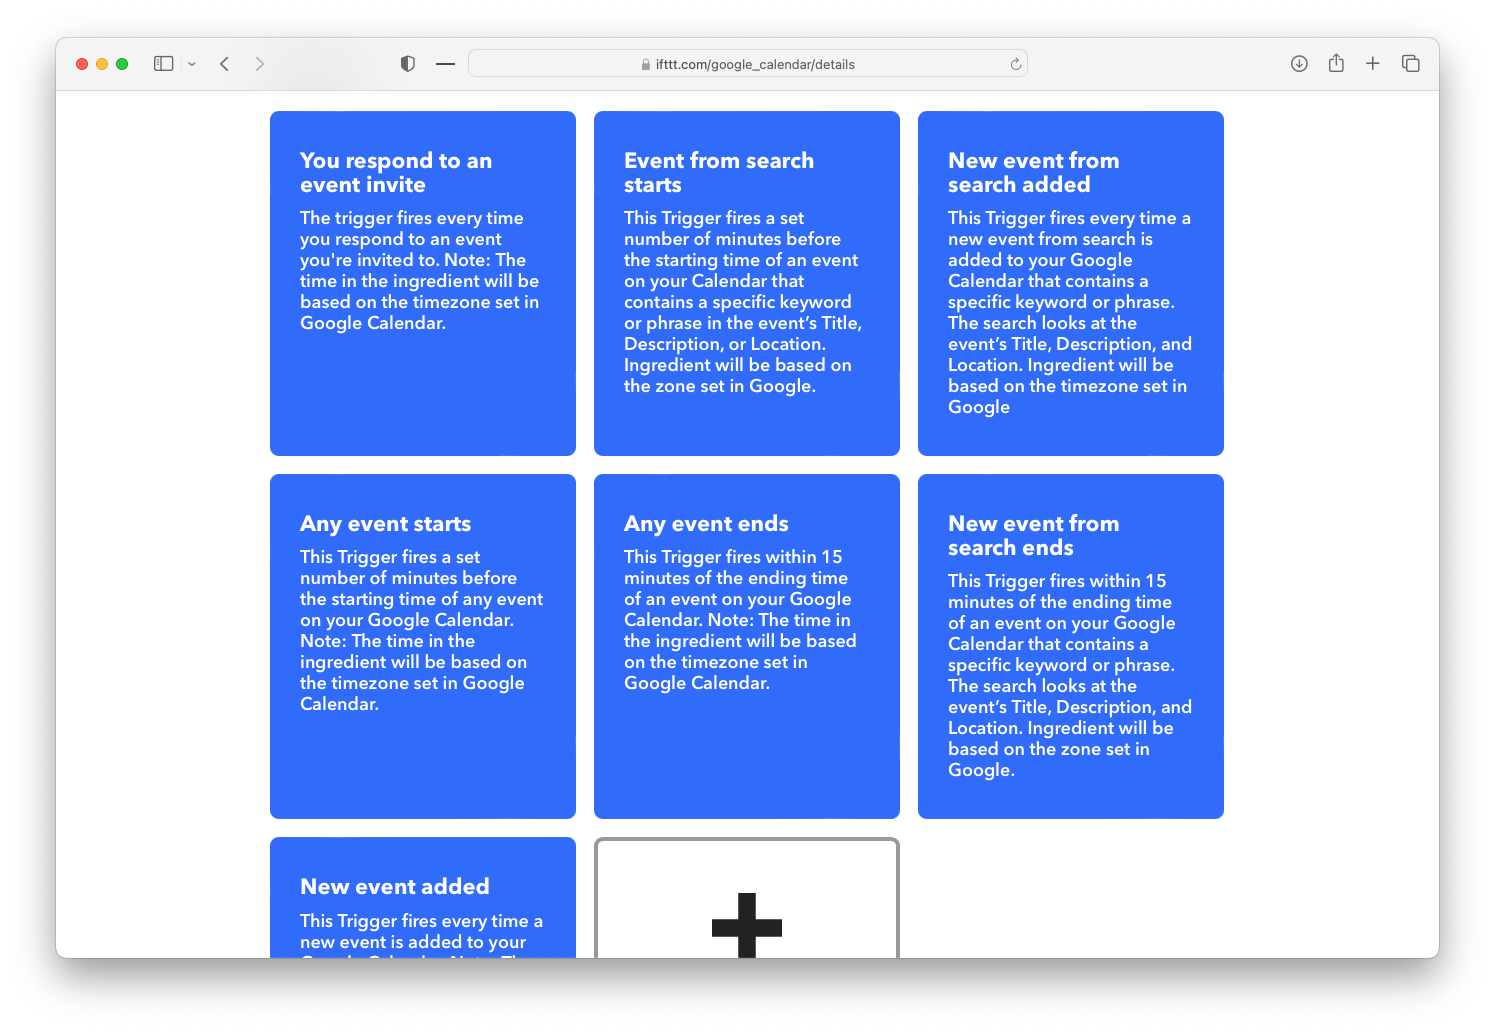
Triggers for Google Calendar
Here we see that Google Calendar has the possibility to kick off another action in any one of the following ways:
- when you respond to an an invite,
- when you decline an event
- when you’ve added a new event (or an event with a kind of a particular name or title or detail).
- when an event begins or is within a set number of minutes of beginning;
- when an event ends
- etc.
This range of possibilites to interact with a wide range of makes IFTTT very useful for prototyping interactions.
Specifically, we’ll work with the trigger that let’s us know when an event is about to begin.
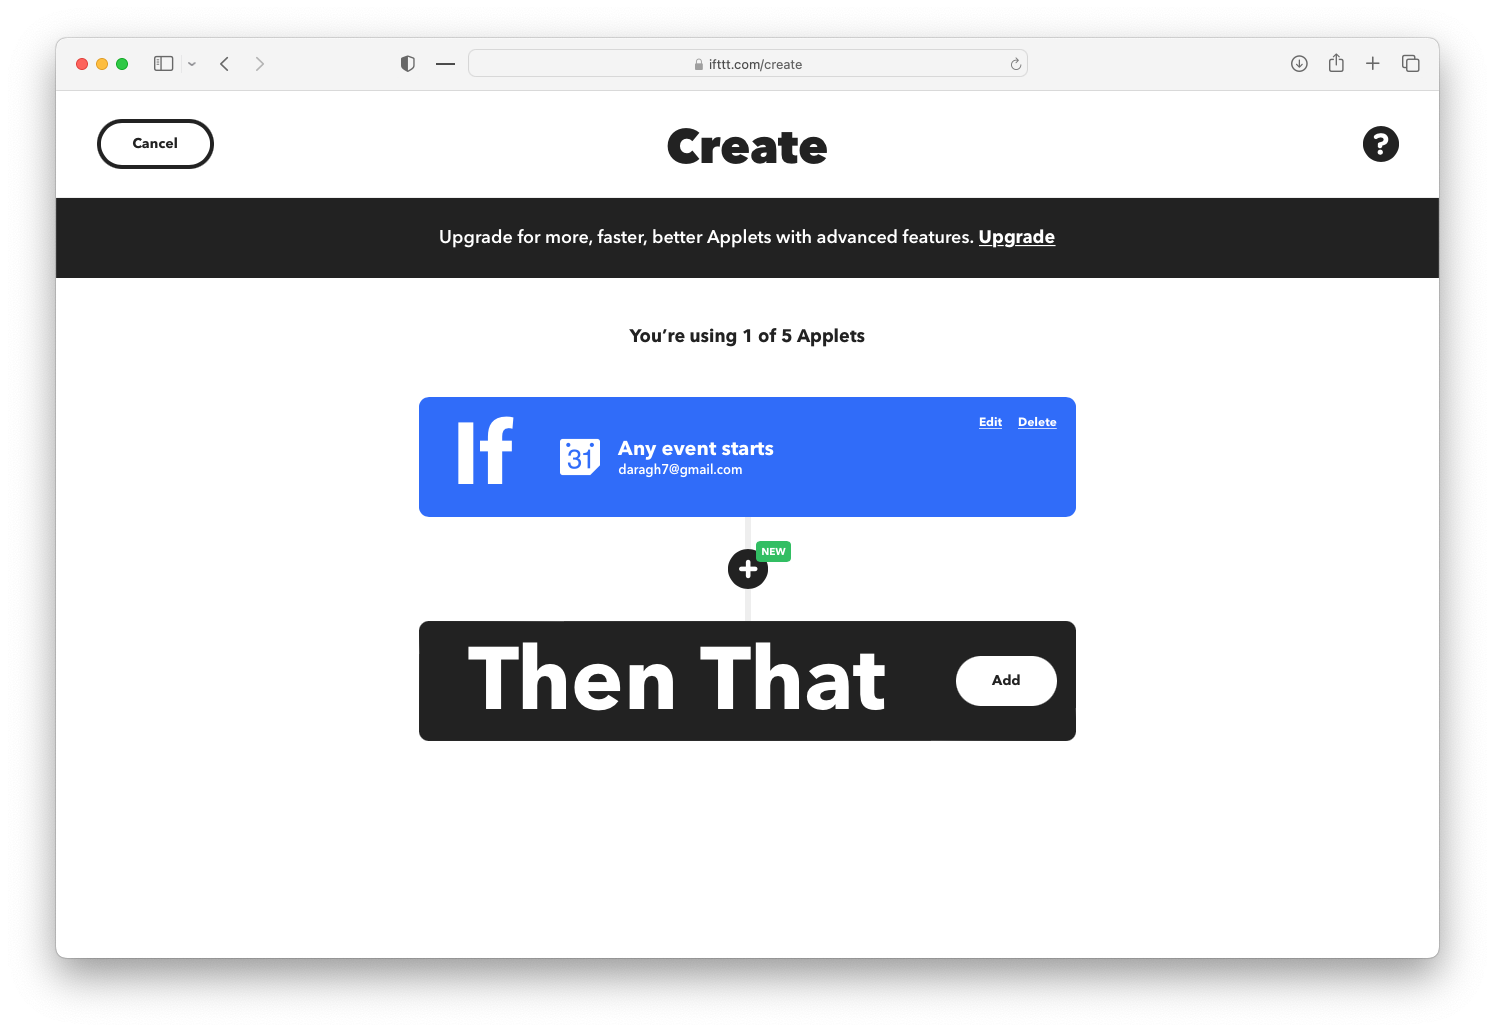
Now, let’s start building the integration, or applet.
Start by scrolling to the top of the Google Calendar integration page, and click ‘Create’. You’ll see a screen like this.
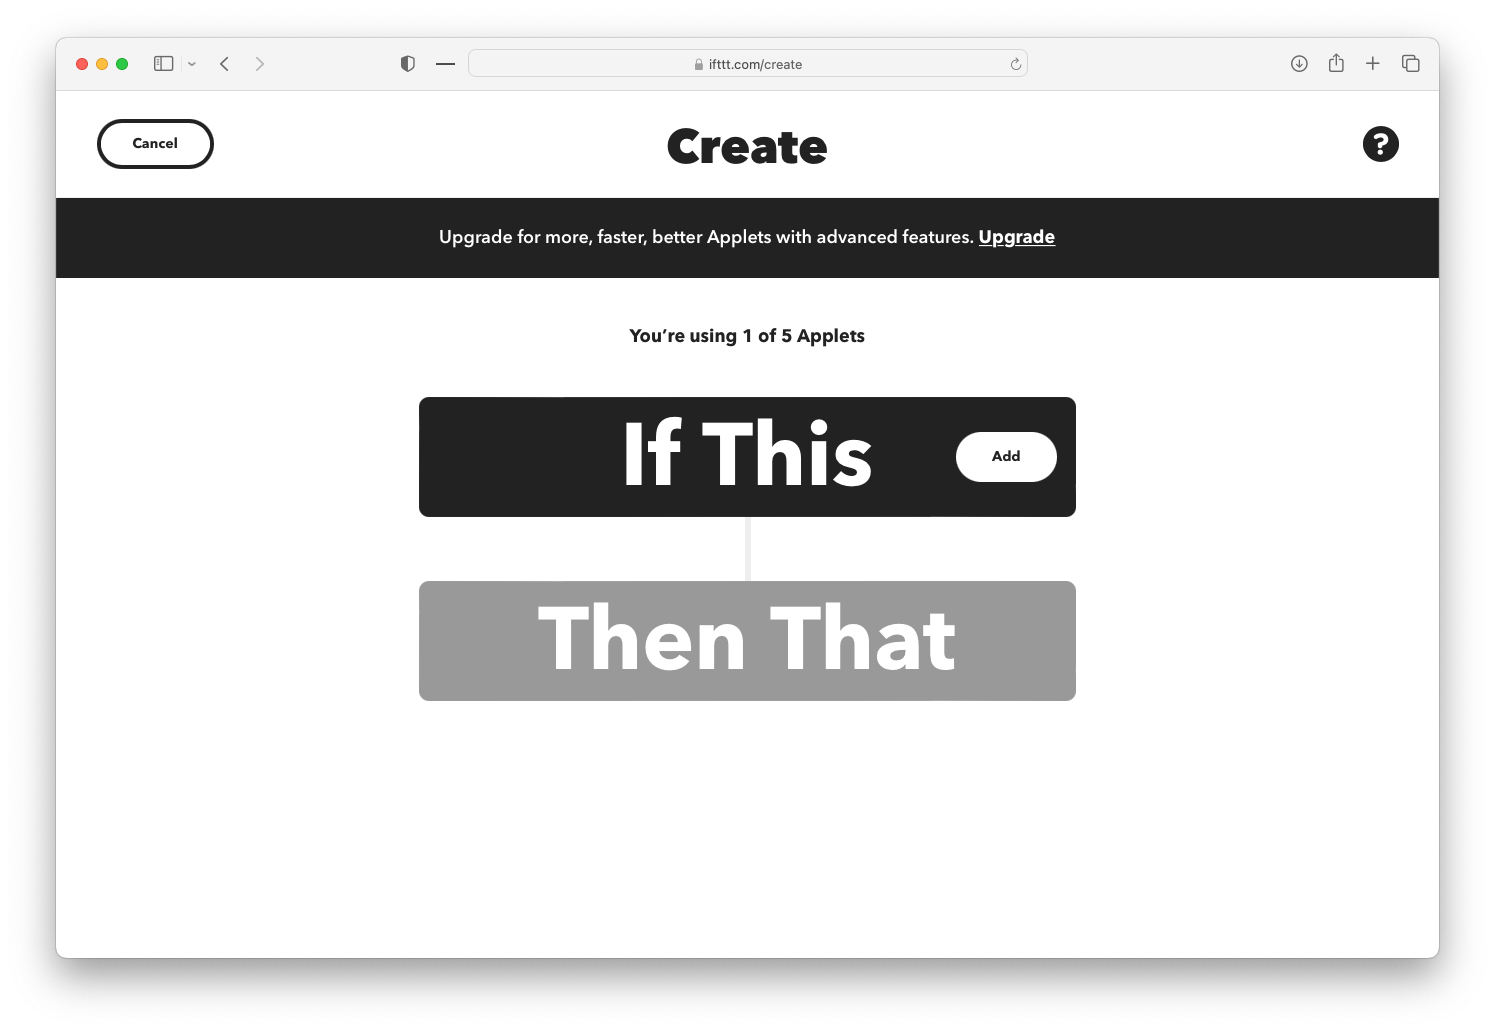
Now you’re given the option to select the trigger. Click Add.
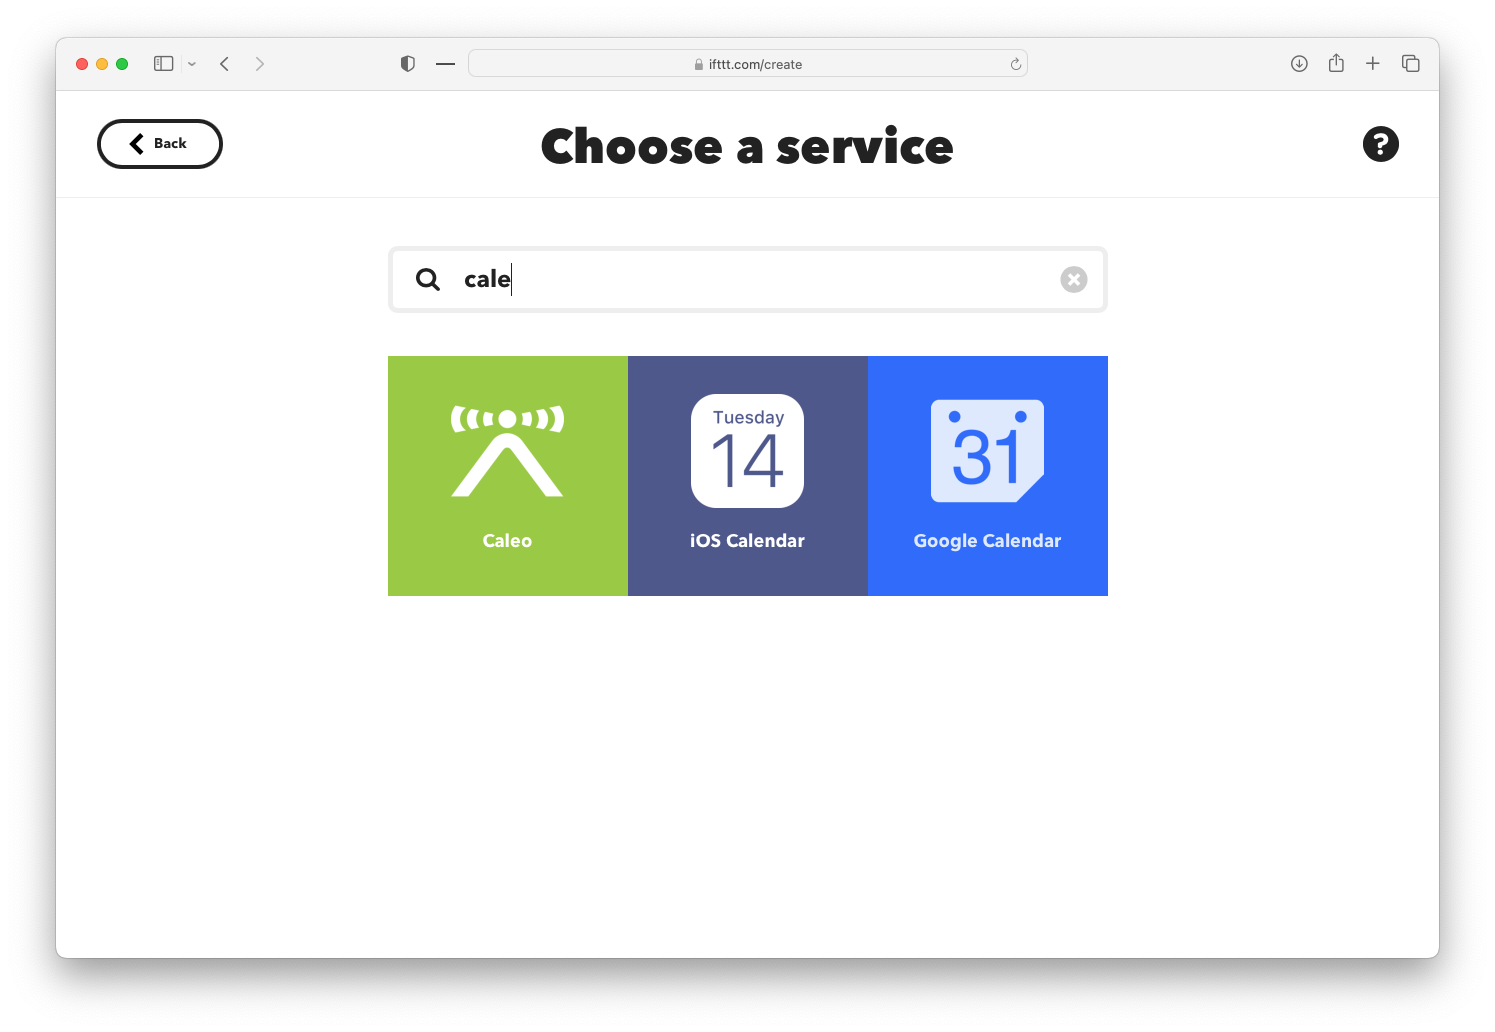
Search for the Google Calendar integration and select it.
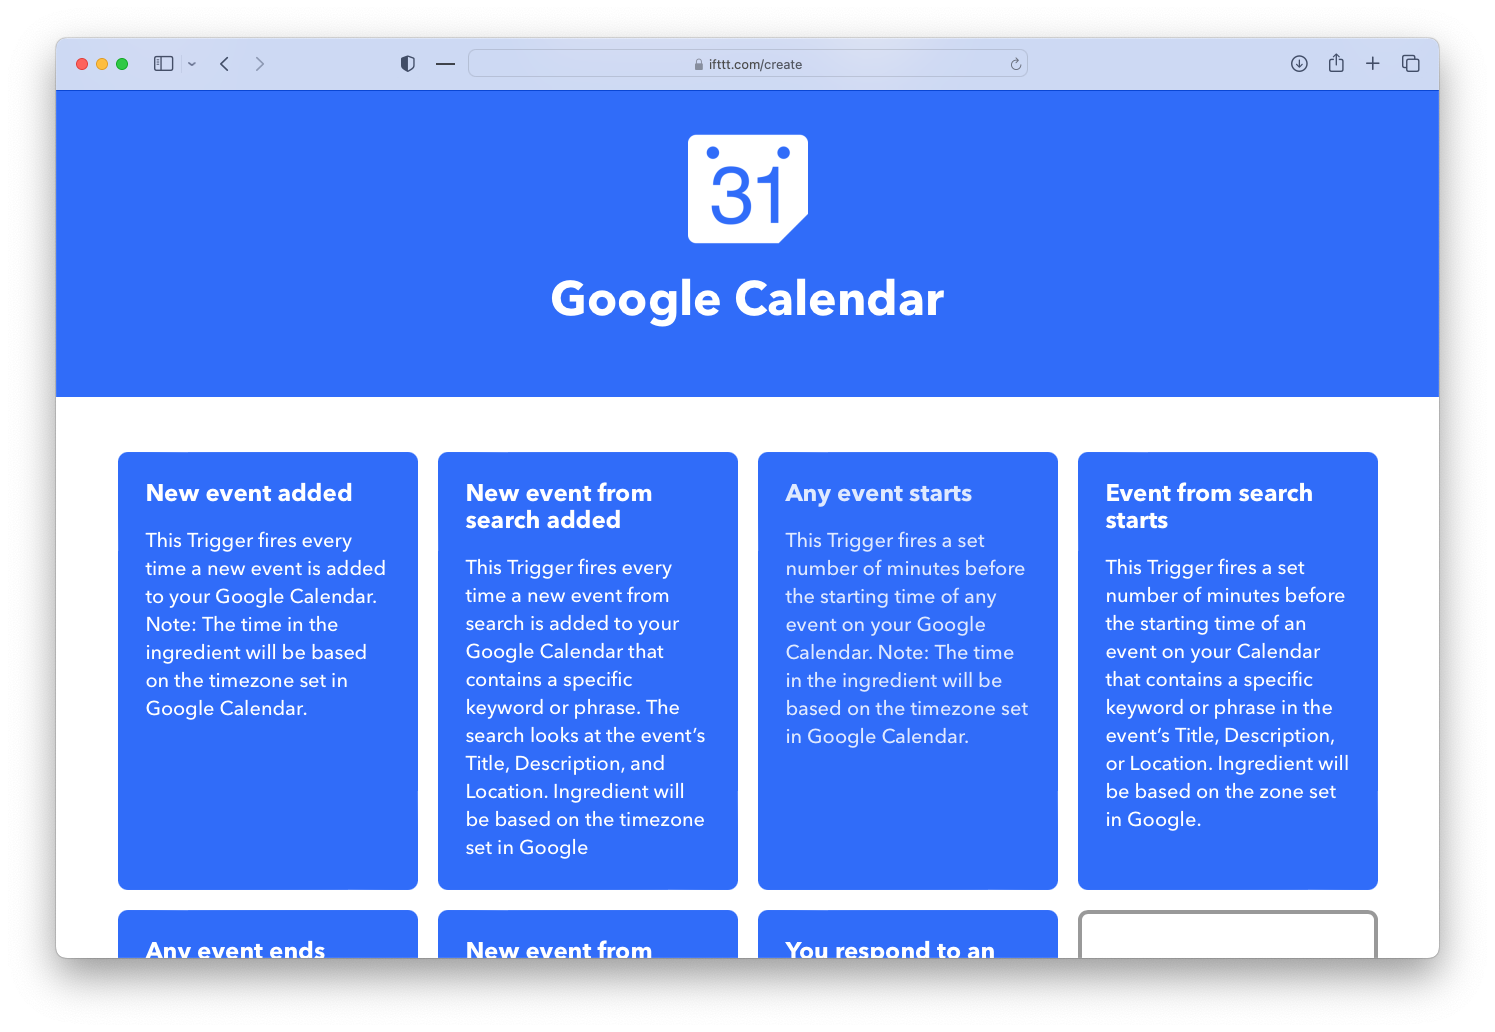
Choose the ‘Any Event Starts’ Trigger.
Then let’s provide it the details it needs.
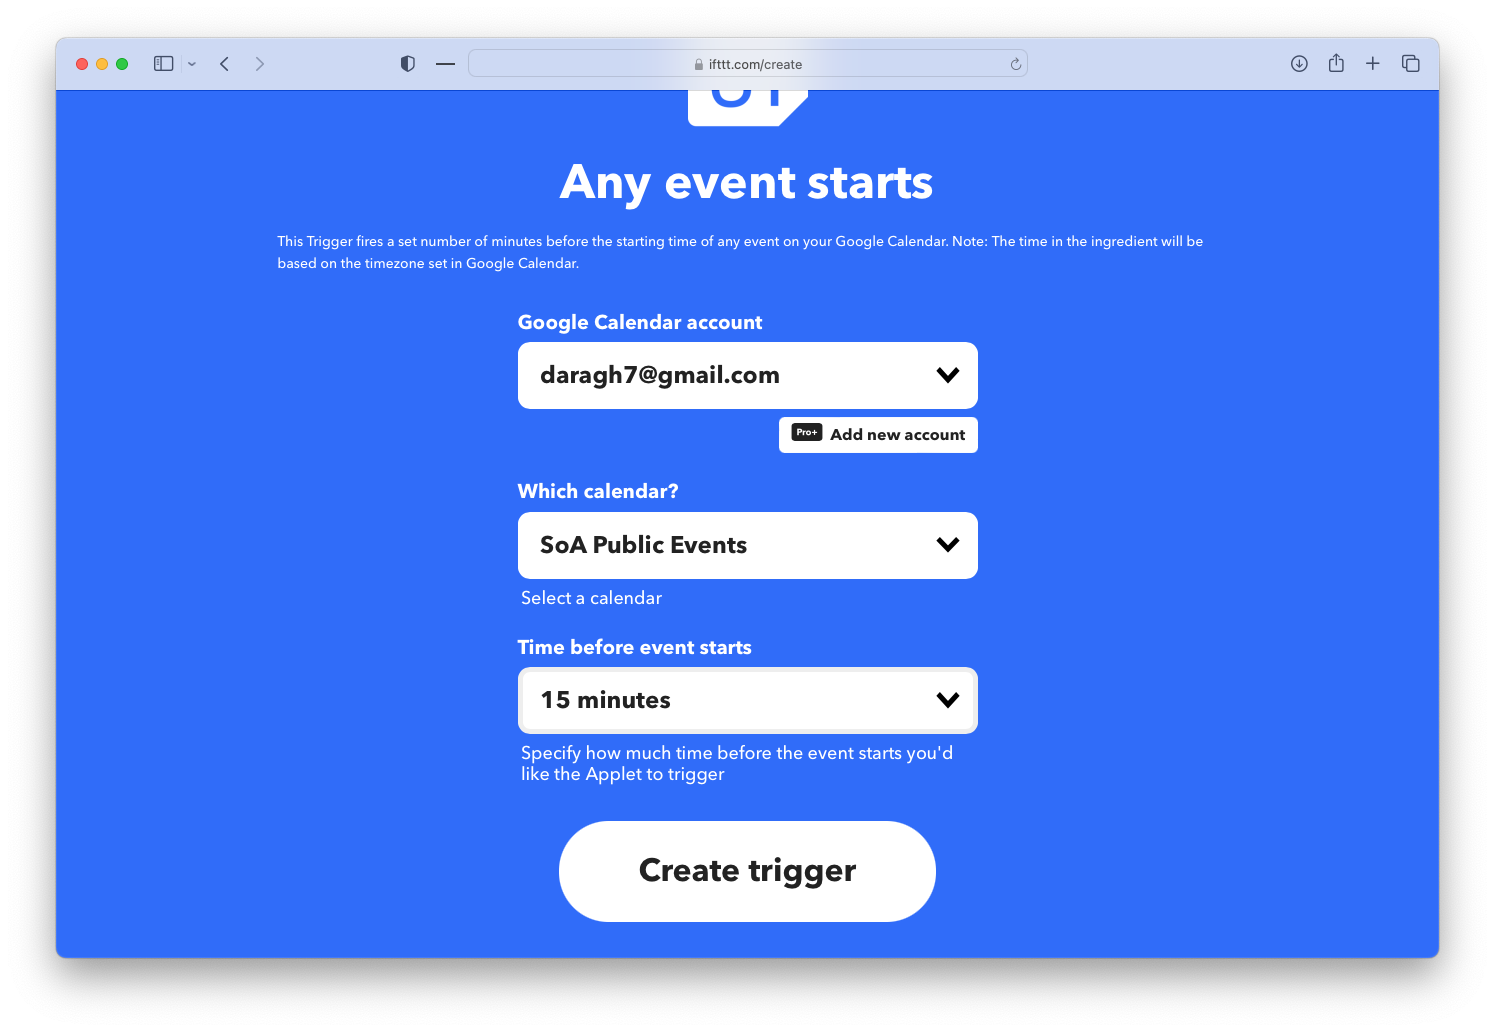
To configure it:
- You’ll need to select the calendar feed on your account you’d like to to be associated with.
- Select the time before at which it should trigger (in this case, 15 mins before the event).
Great. We’re half way there. Now let’s set up the action that should be triggered in response to a new calendar event starting.
This is where it’s going to be a little bit different because we don’t have a channel for Particle. Instead, what we’re going to ask if to do is to make a web request to that URL.
For this, we’ll use a IFTTT integration called Webhooks. Webhooks can be used either look for incoming web traffic to IFTTT, or have it IFTTT, request something on another server. We’ll want the second option.
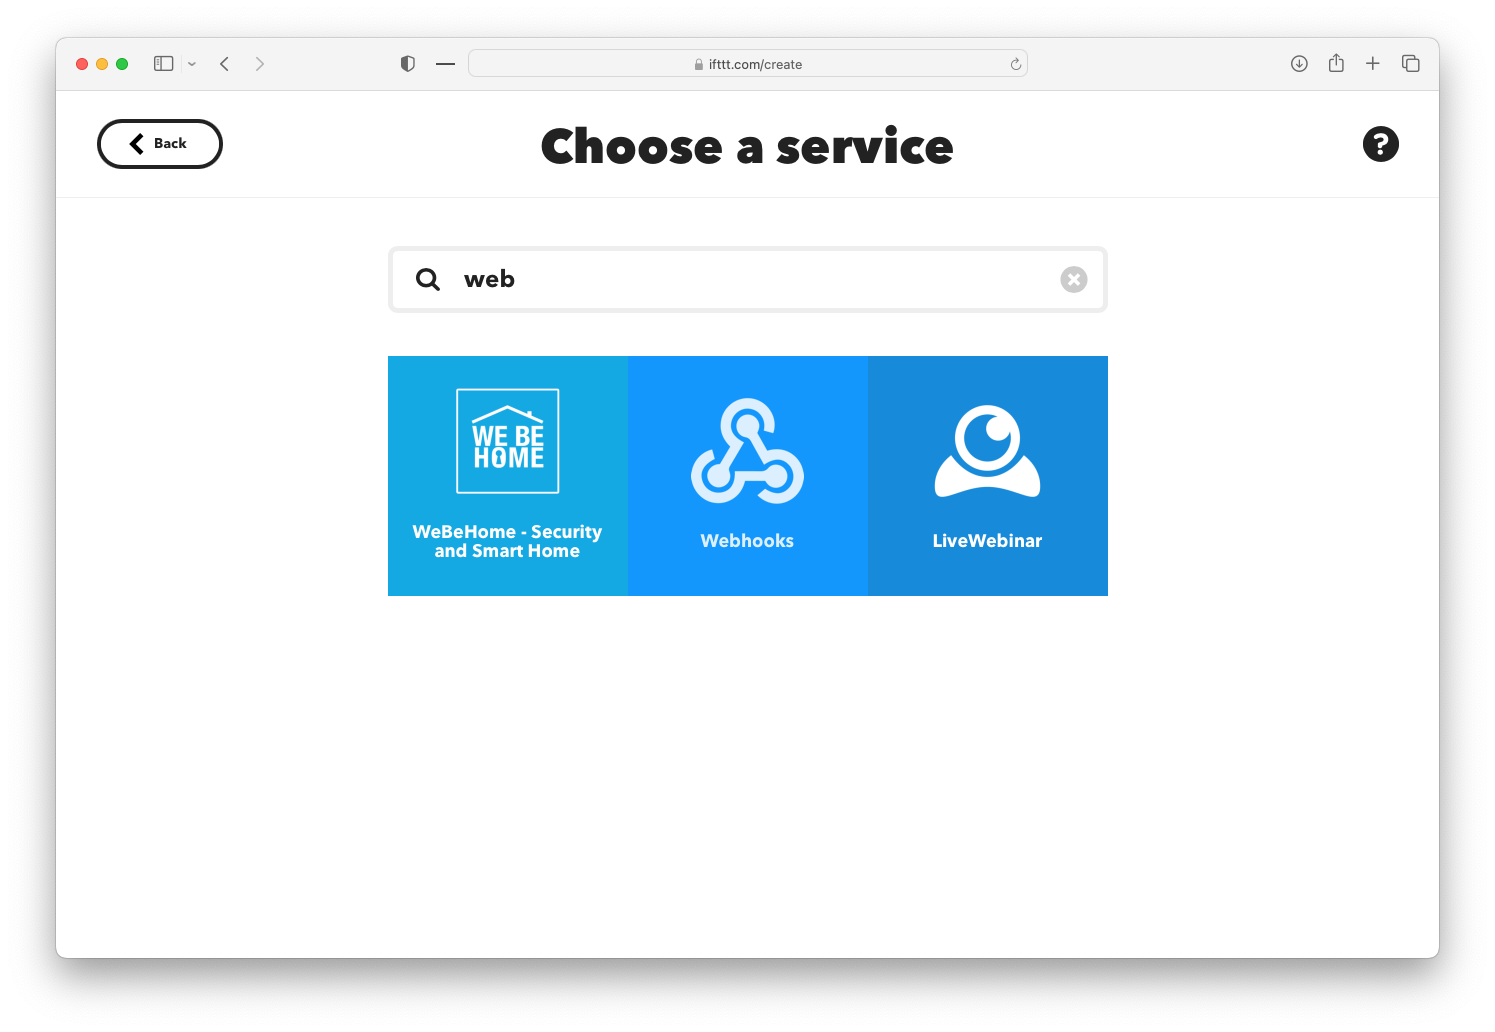
Search for the Webhooks channel and choose this option.
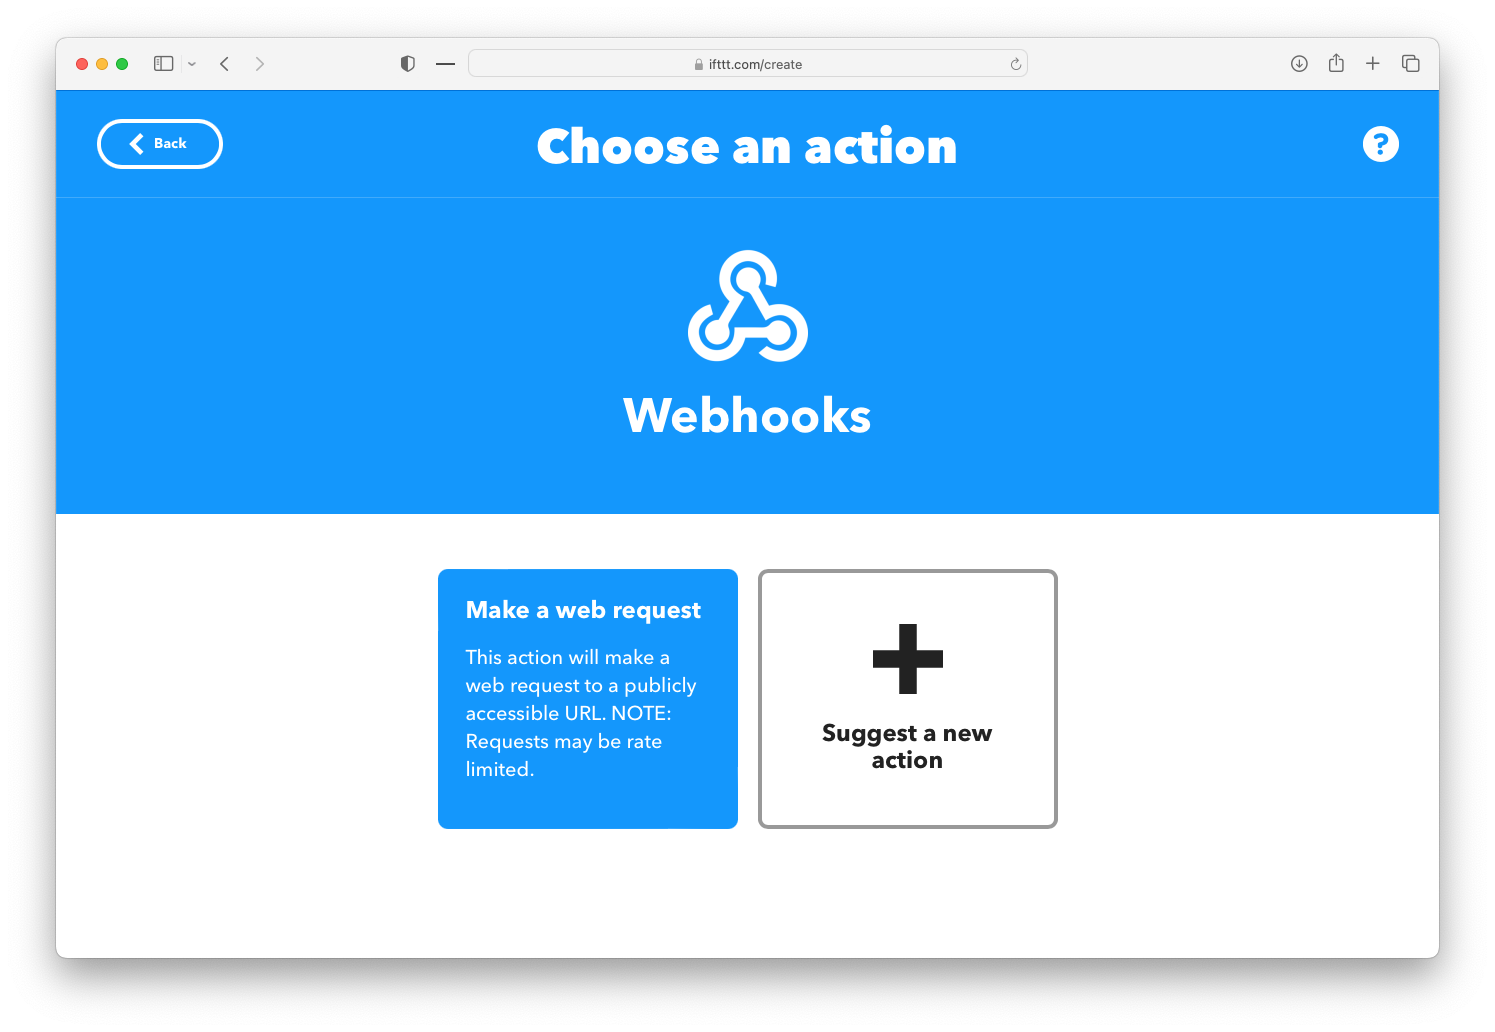
Then choose the ‘Make a Web Request’ option. Then it gets a little complicated.

Next, we need to provide it the information to make a request to the Particle Cloud to trigger a connected function on our microcontroller.
This is where you’ll to put in the URL for the Particle service.
- First add in the URL to your Particle function. That URL will look like
https://api.particle.io/v1/devices/YOUR_DEVICE_ID/YOUR_FUNCTION_NAME/- If you need to look up your device ID using the Particle Console
- Second, add the function name you see appearing on the Particle Console for your device in the bit that is
YOUR_FUNCTION_NAME
-
Change the method to
POST -
Change the content type to
application-json - In Additional Headers, add
Authorization: Bearer XXXXXXXXand replace the X’s with the token you created earlier.
Once setup and configured, click to continue.
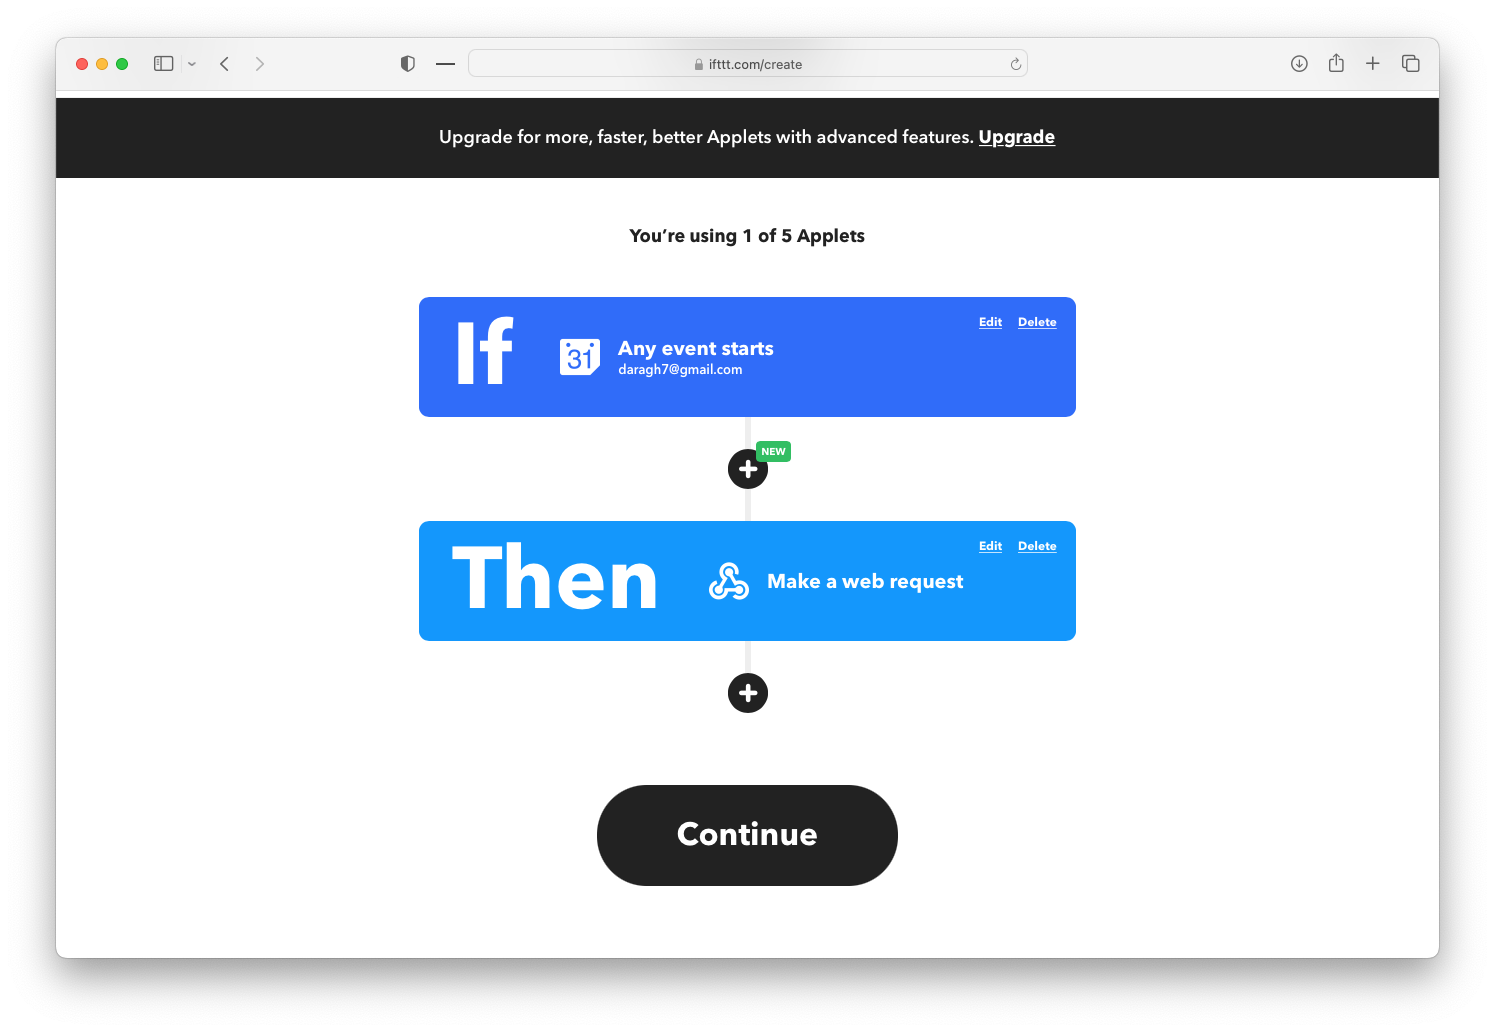
You should see your configured Trigger (if this) and Action (then that).
Finish up your applet giving your applet a memorable and descriptive a name. Once you’re ready, hit Finish.
And should now it be connected and ready to roll. The only thing for you left to do is to write your code and decide what your microcontroller should do in response.