Unbox it!
Table of contents
- Step 1: unpack the Photon2
- Step 3: Attach the USB Cable
- Step 4: Insert the Photon into the Breadboard
We’re going to open up and unpack our Photon2 and get it ready to connect to the Particle Cloud.
Step 1: unpack the Photon2
First find the Photon2 box in your IoT course kit. You’ll also need a breadboard and a USB cable. They look like this:
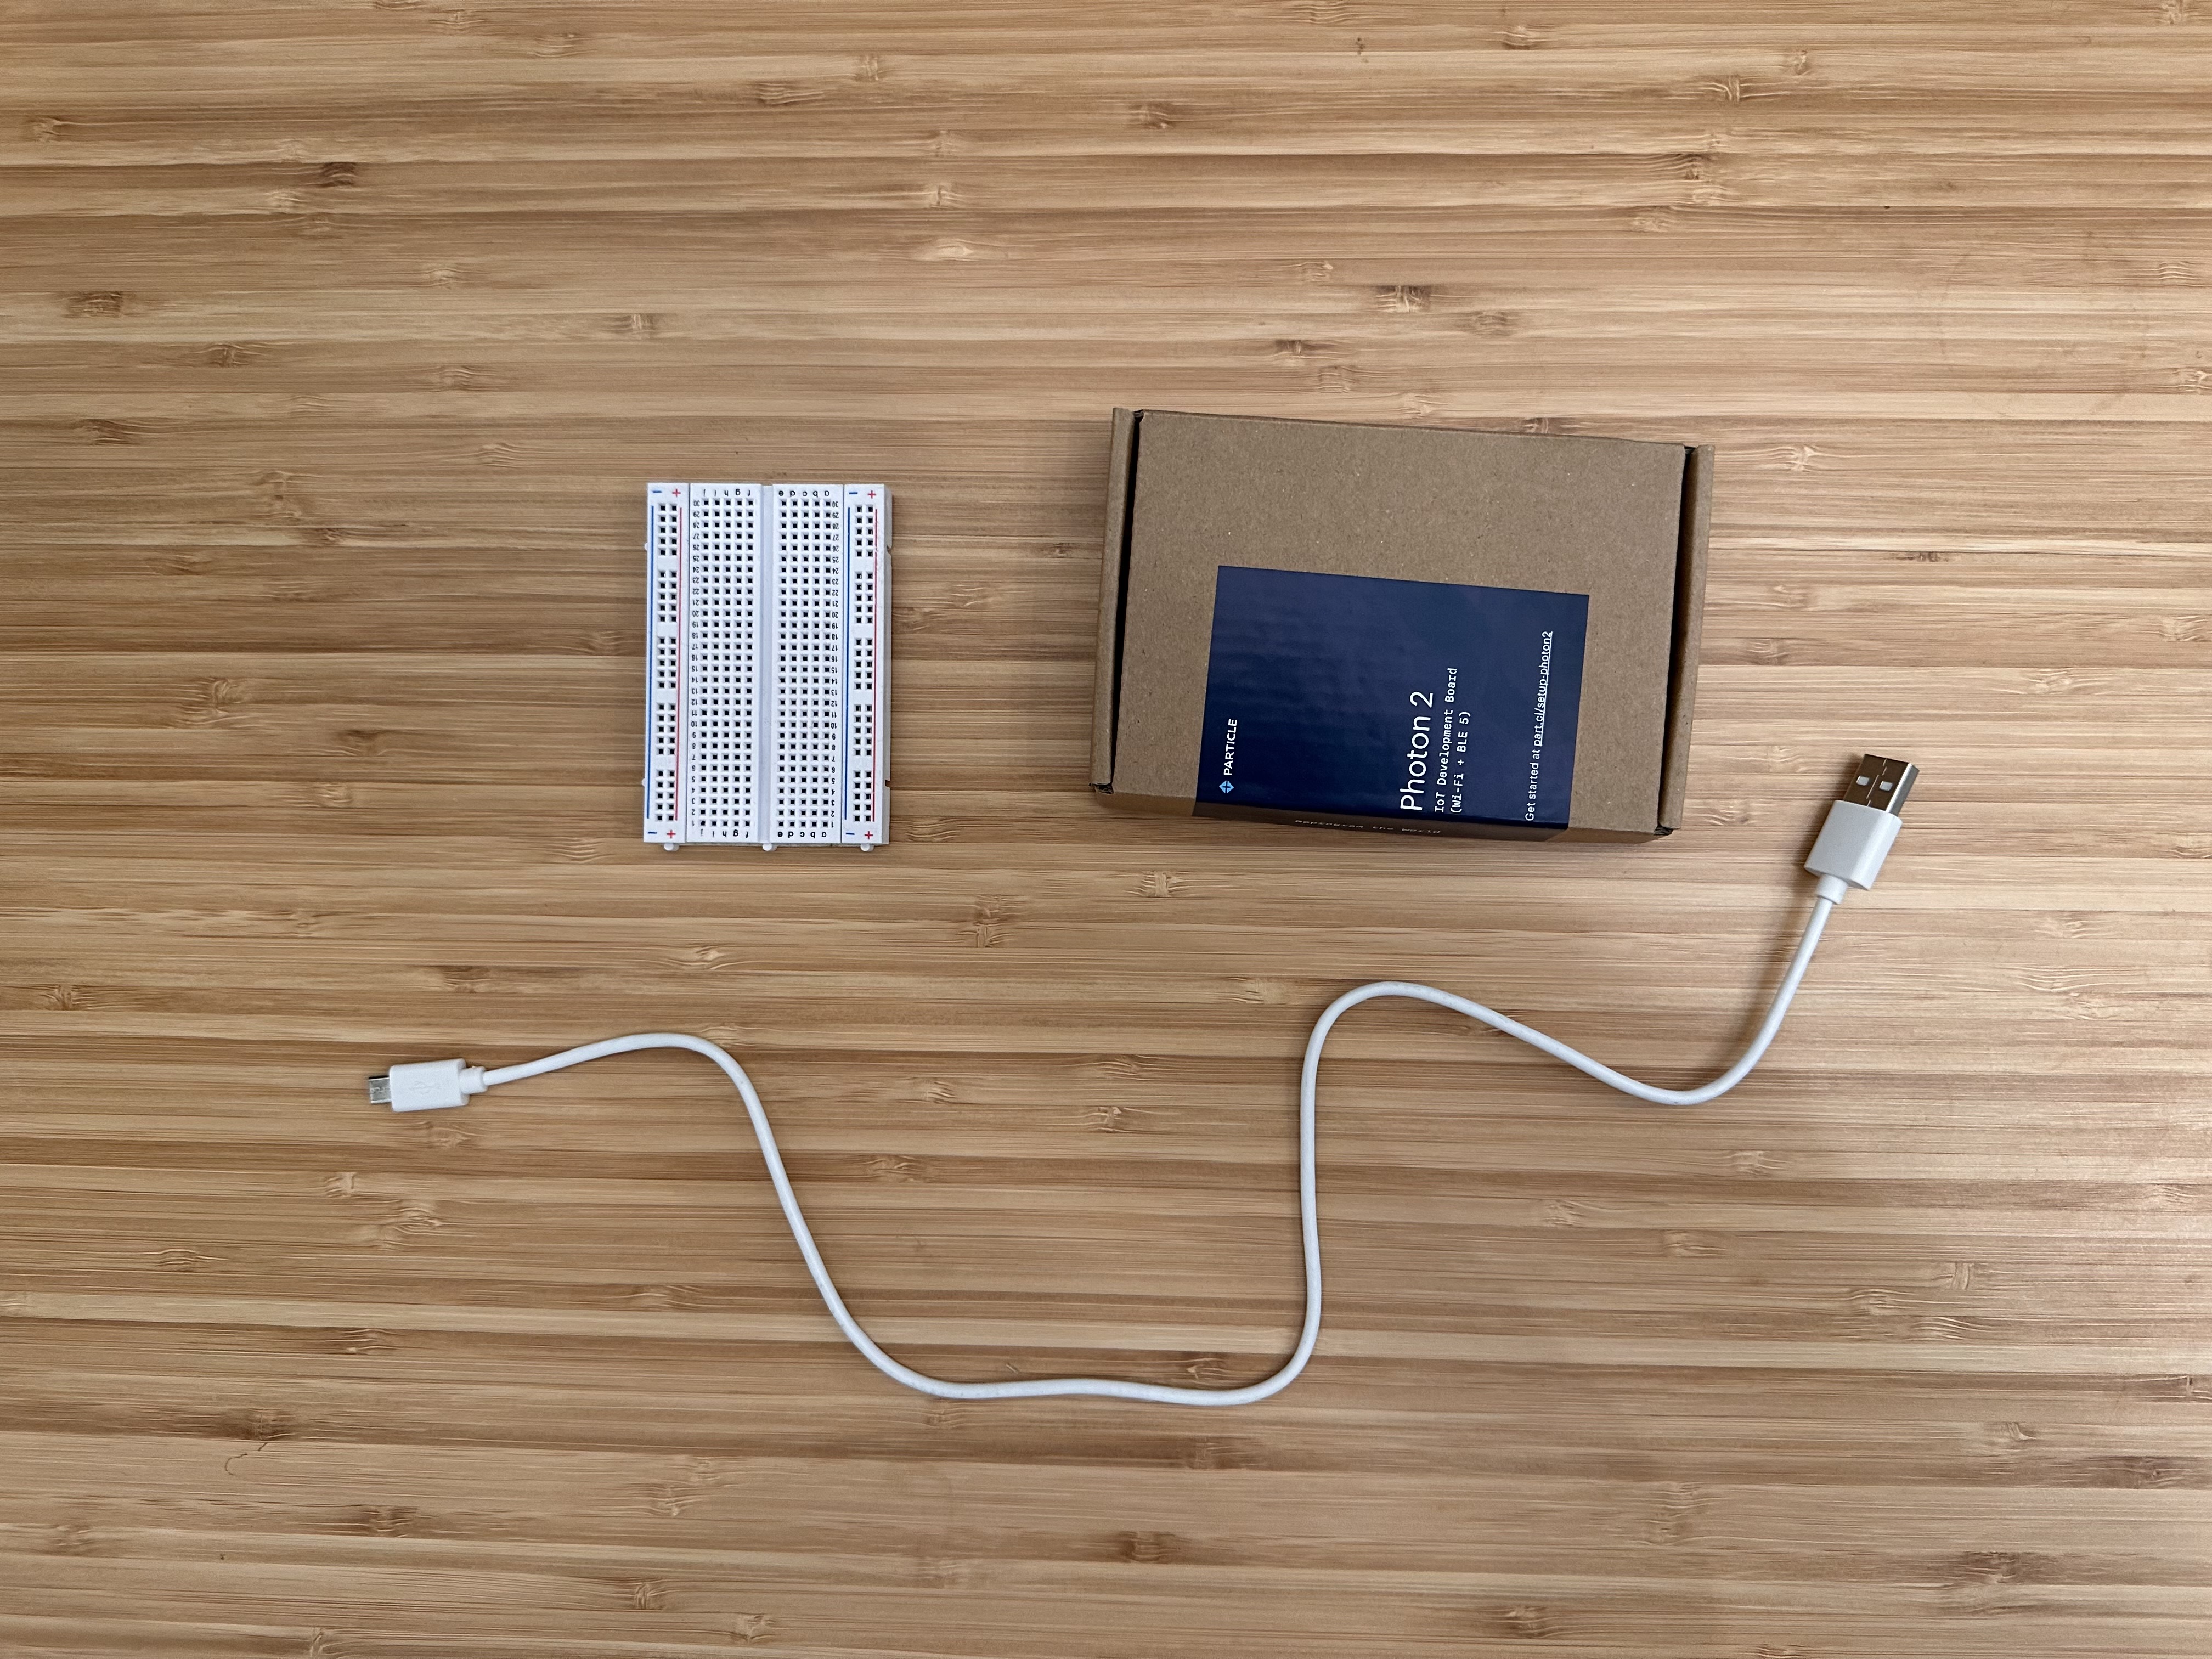
Photon Kit.
Remove the Photon2 from the packaging and examine each.
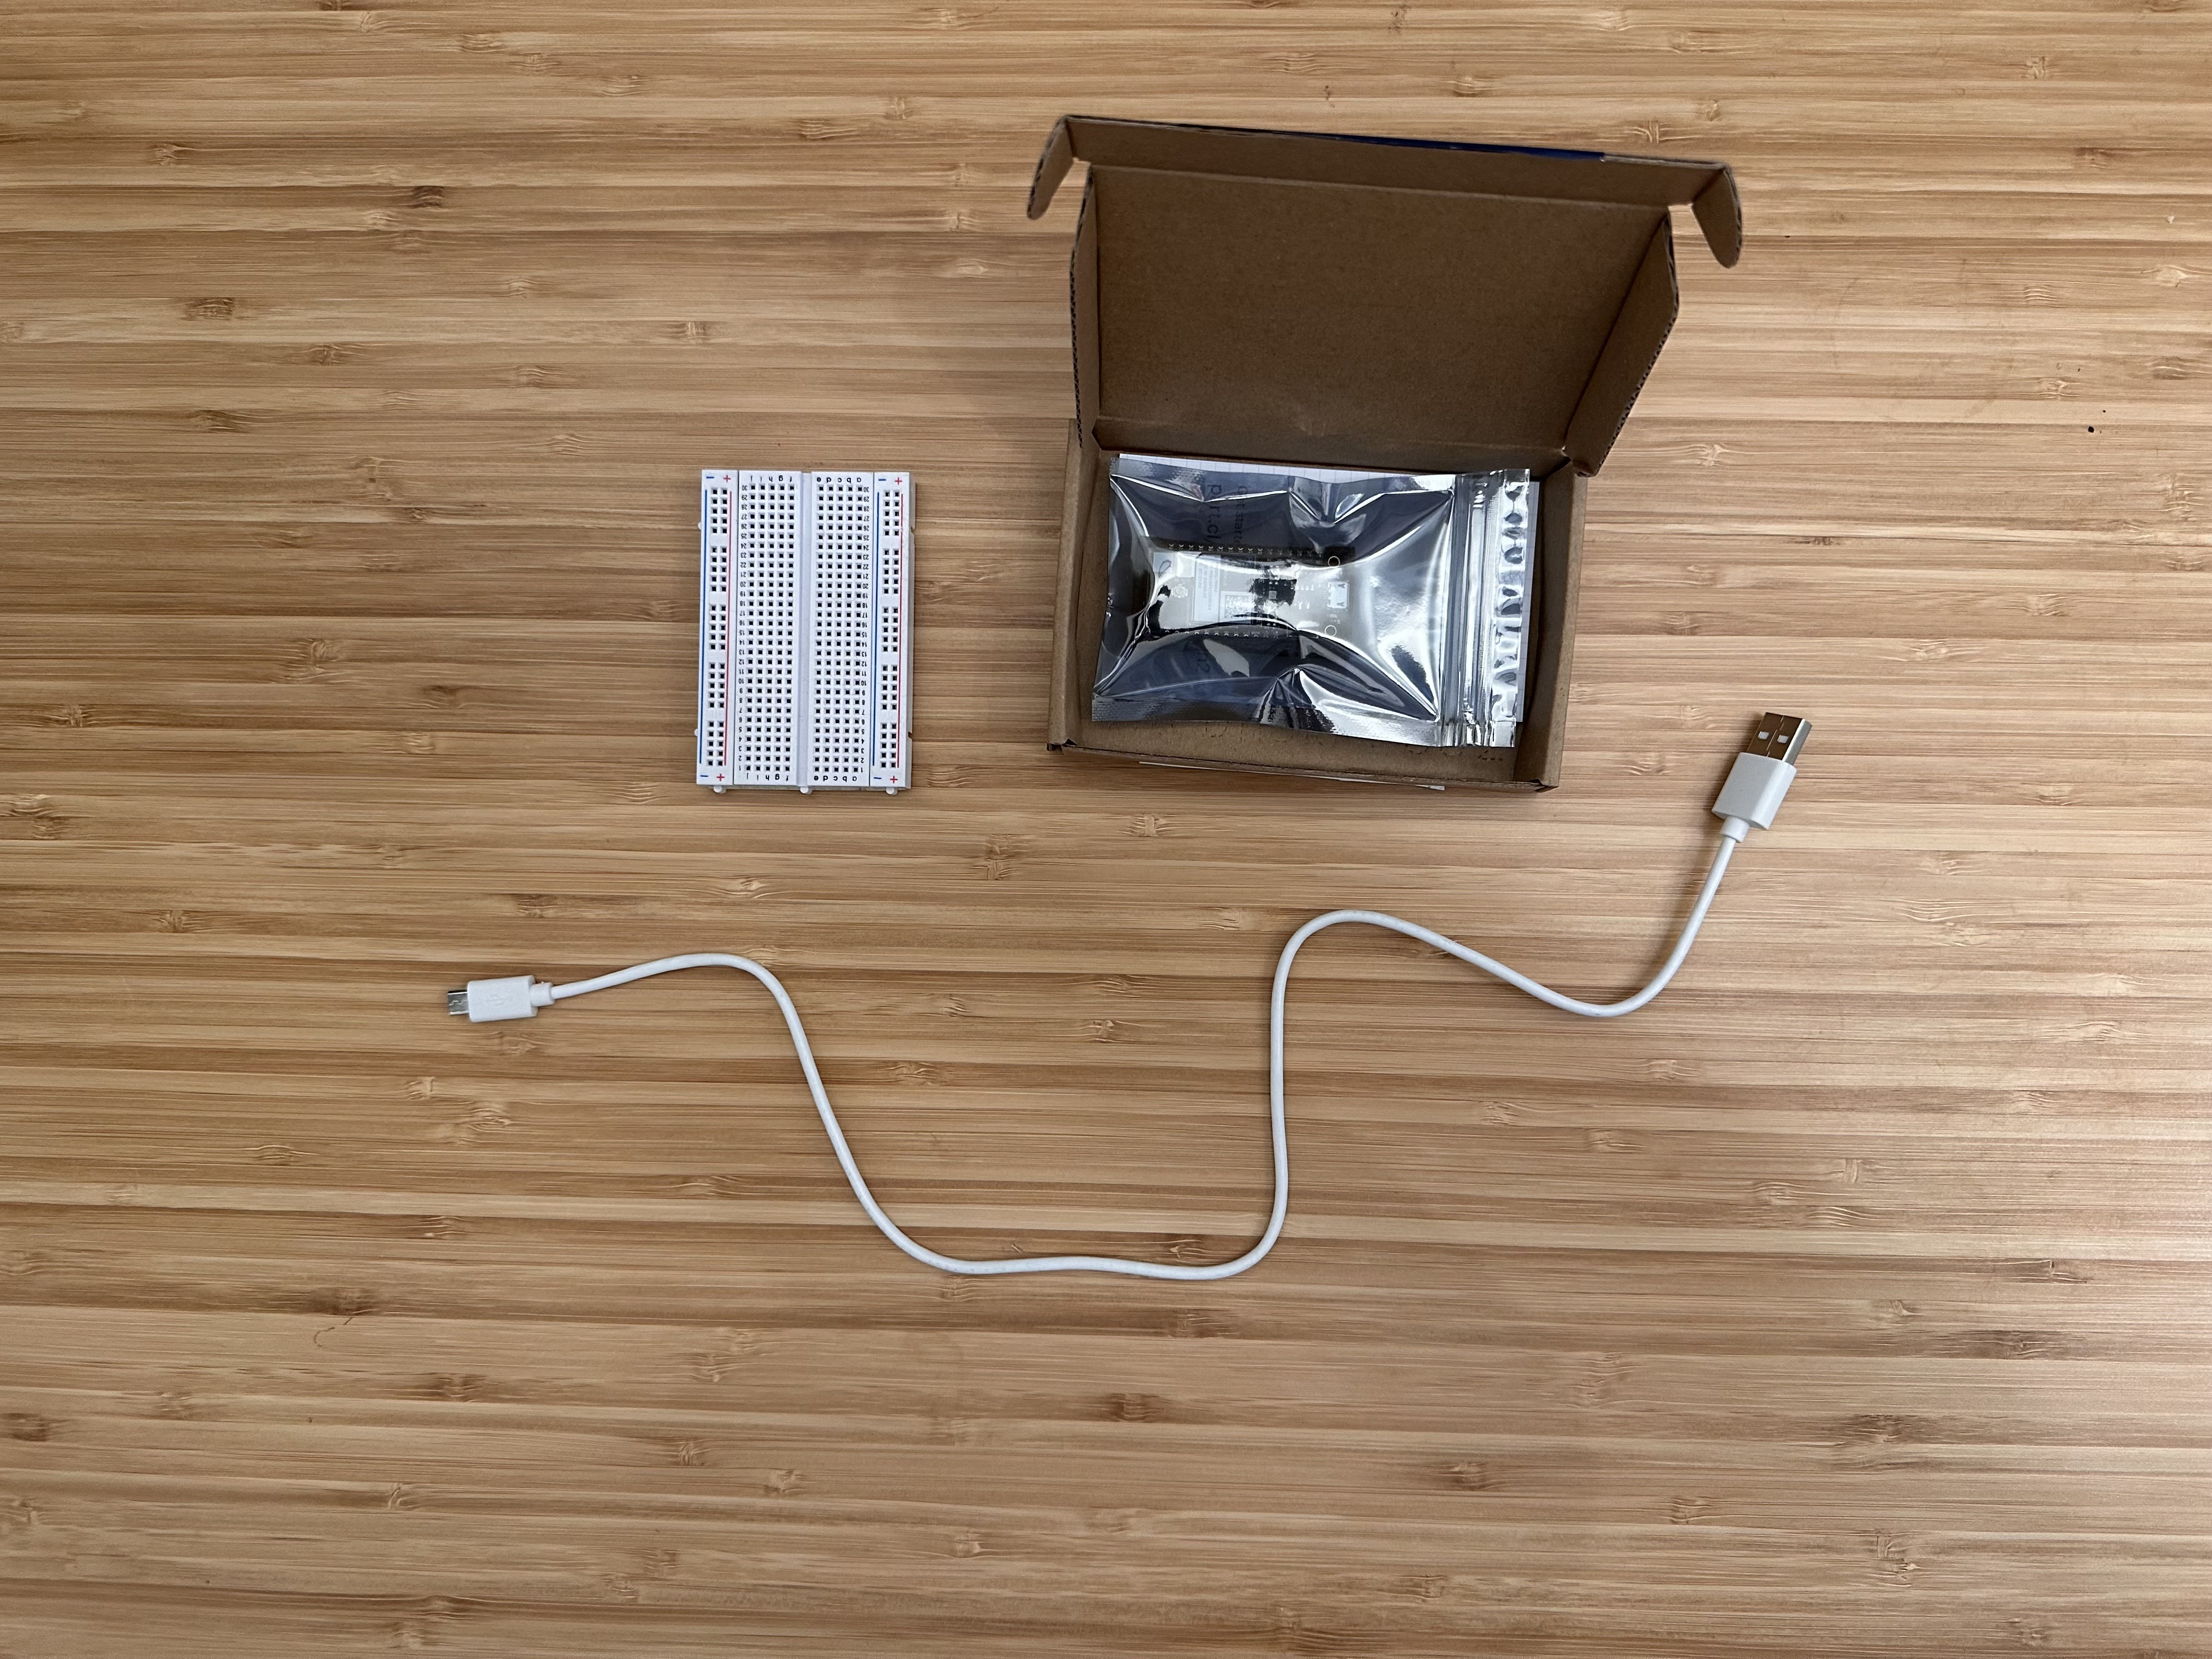
Photon Kit contents
Then remove the packaging from each
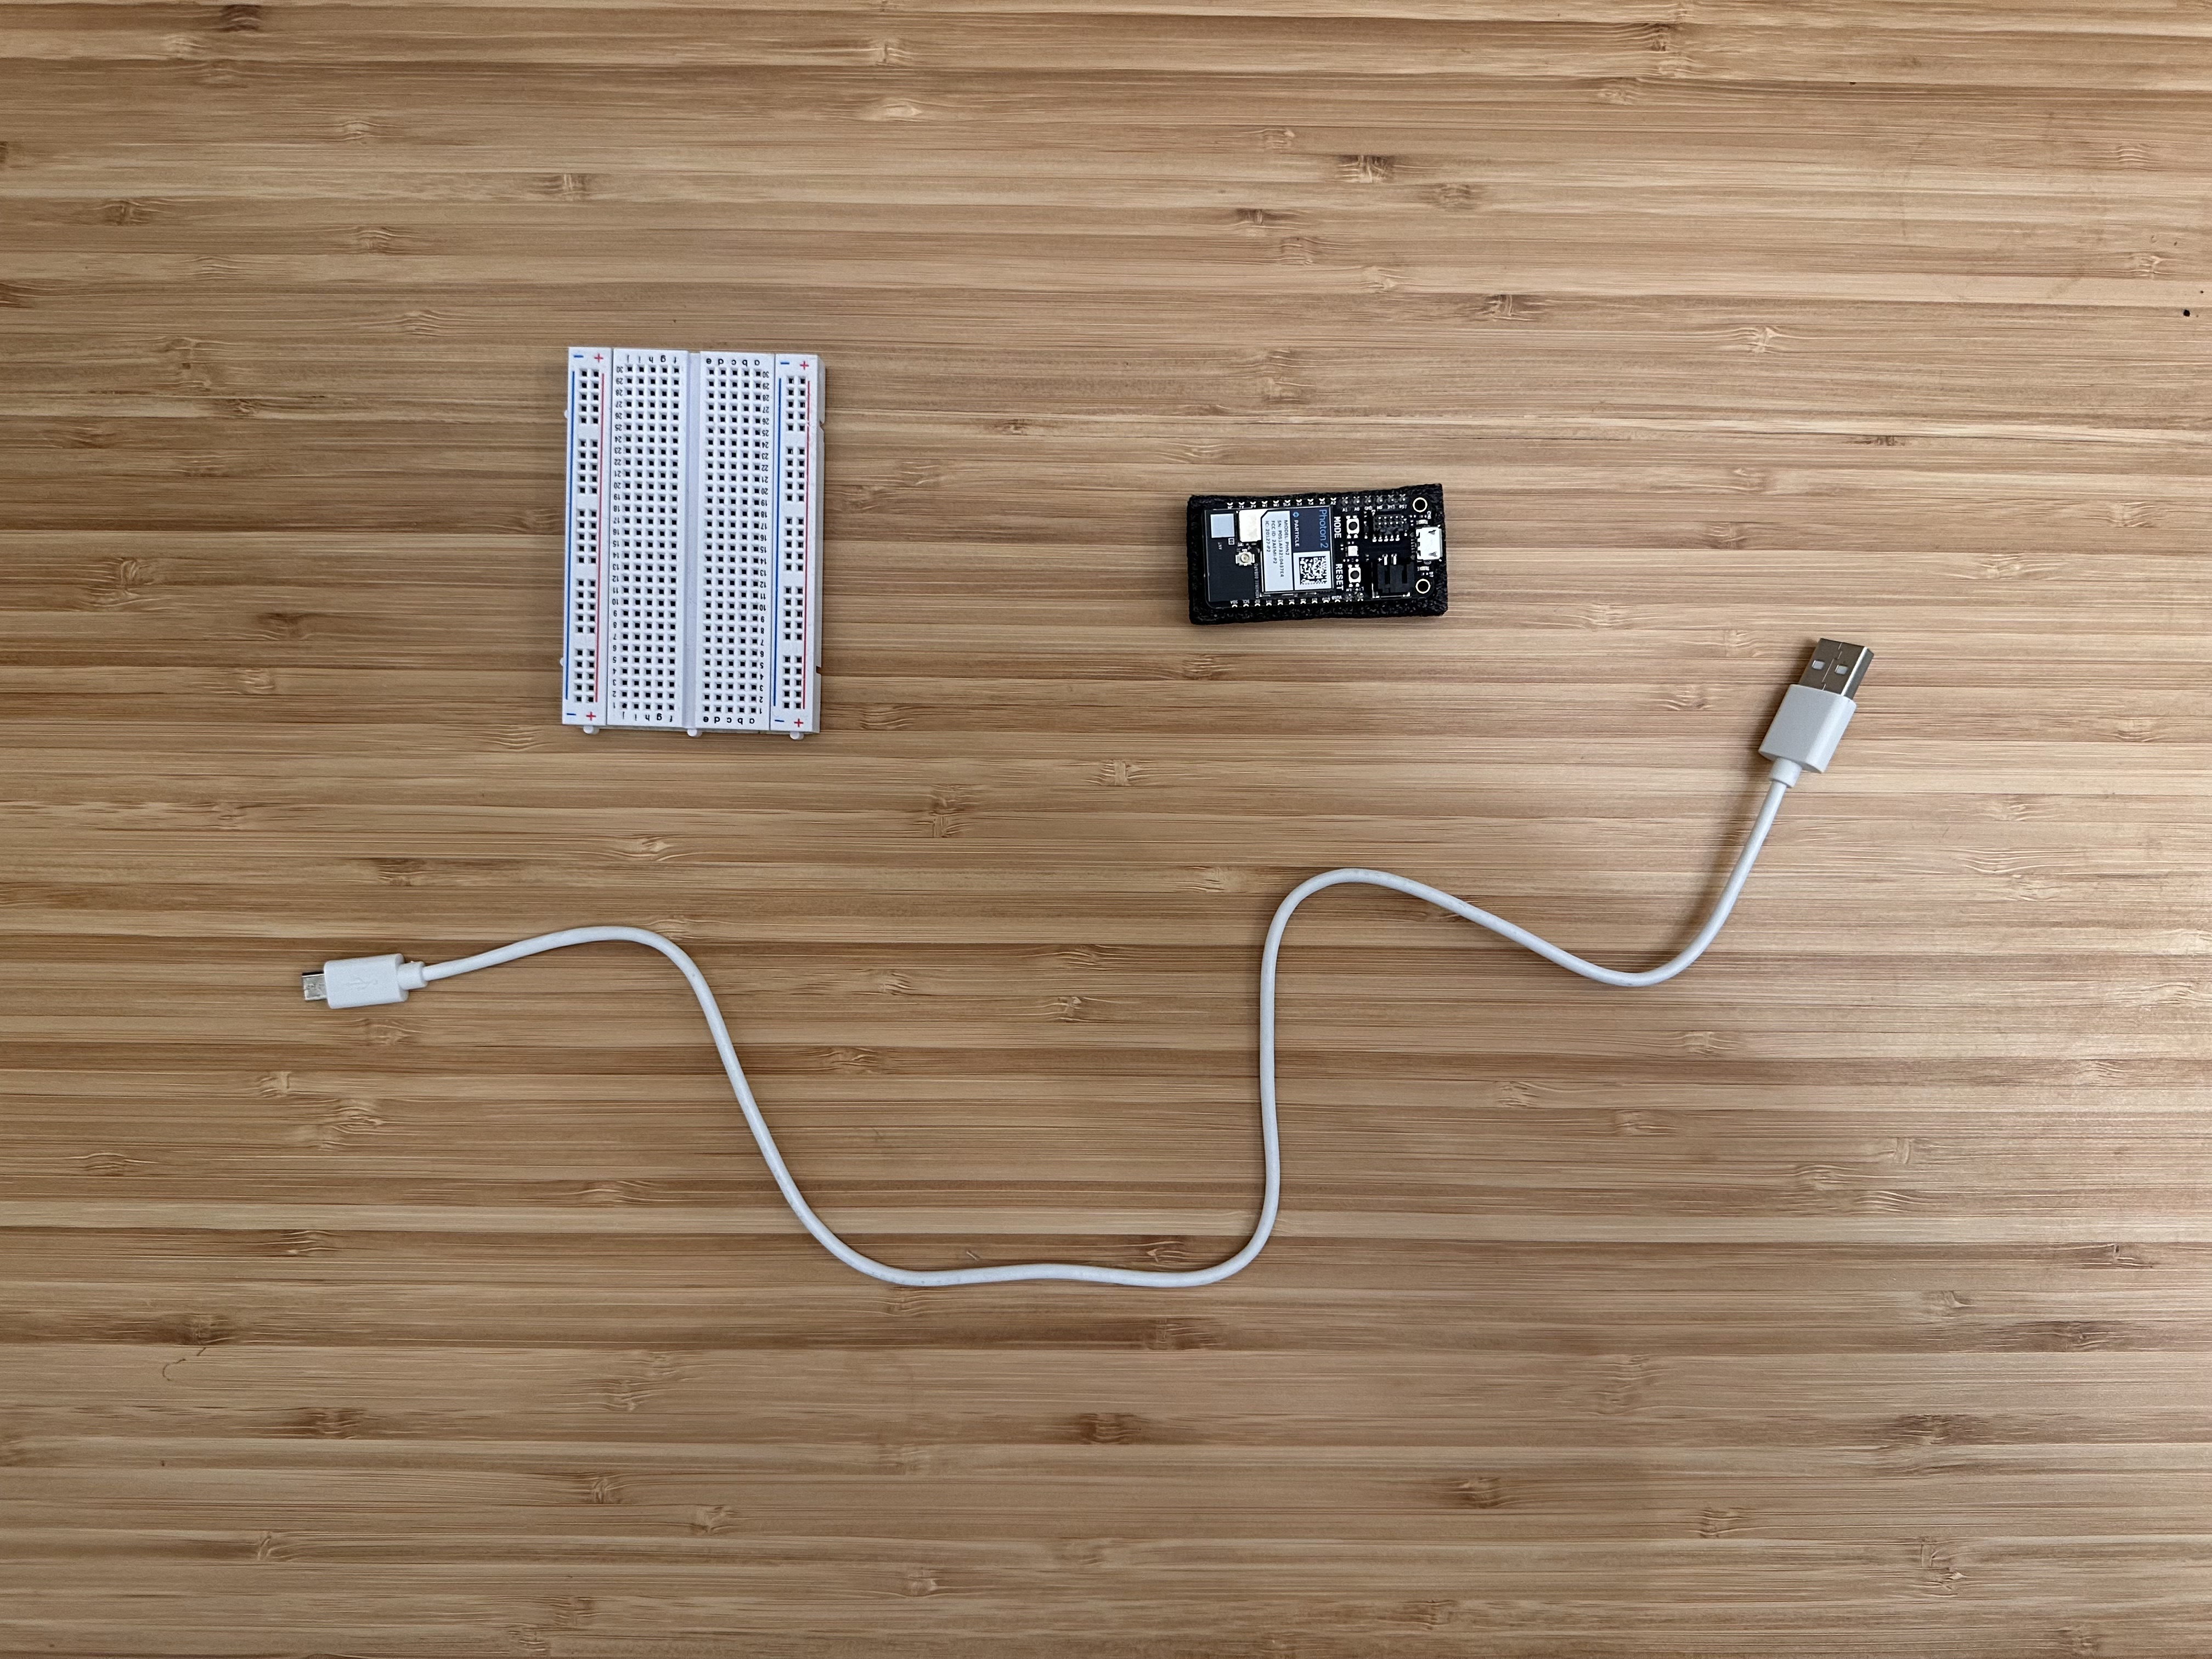
Photon Kit with packaging removed. Photon is depicted on the left. Breadboard and USB cabel in the middle and WiFi antenna on the right.
Step 3: Attach the USB Cable

The Photon and the USB cable
The Photon is powered using a USB cable and any 5 volt source. This includes
- plugging it into the USB port on your laptop
- using a USB wall adapter e.g. for charging a phone
- a portable power pack with a USB port.
The Photon does not need to be connected to your computer directly, as the programs are flashed over WiFi to it. However, the USB sockets on a laptop are often the easiest to work with!
The USB port is located at the top of the Photon board. It is a silver port.
Simply insert the the USB cable provided to the port. Be gentle when you do this. Exerting too much force could cause damage to the port. Additionally, make sure not to press down on or maneuver the USB cable while attached. This could lead to damage.
It should look like this when complete:
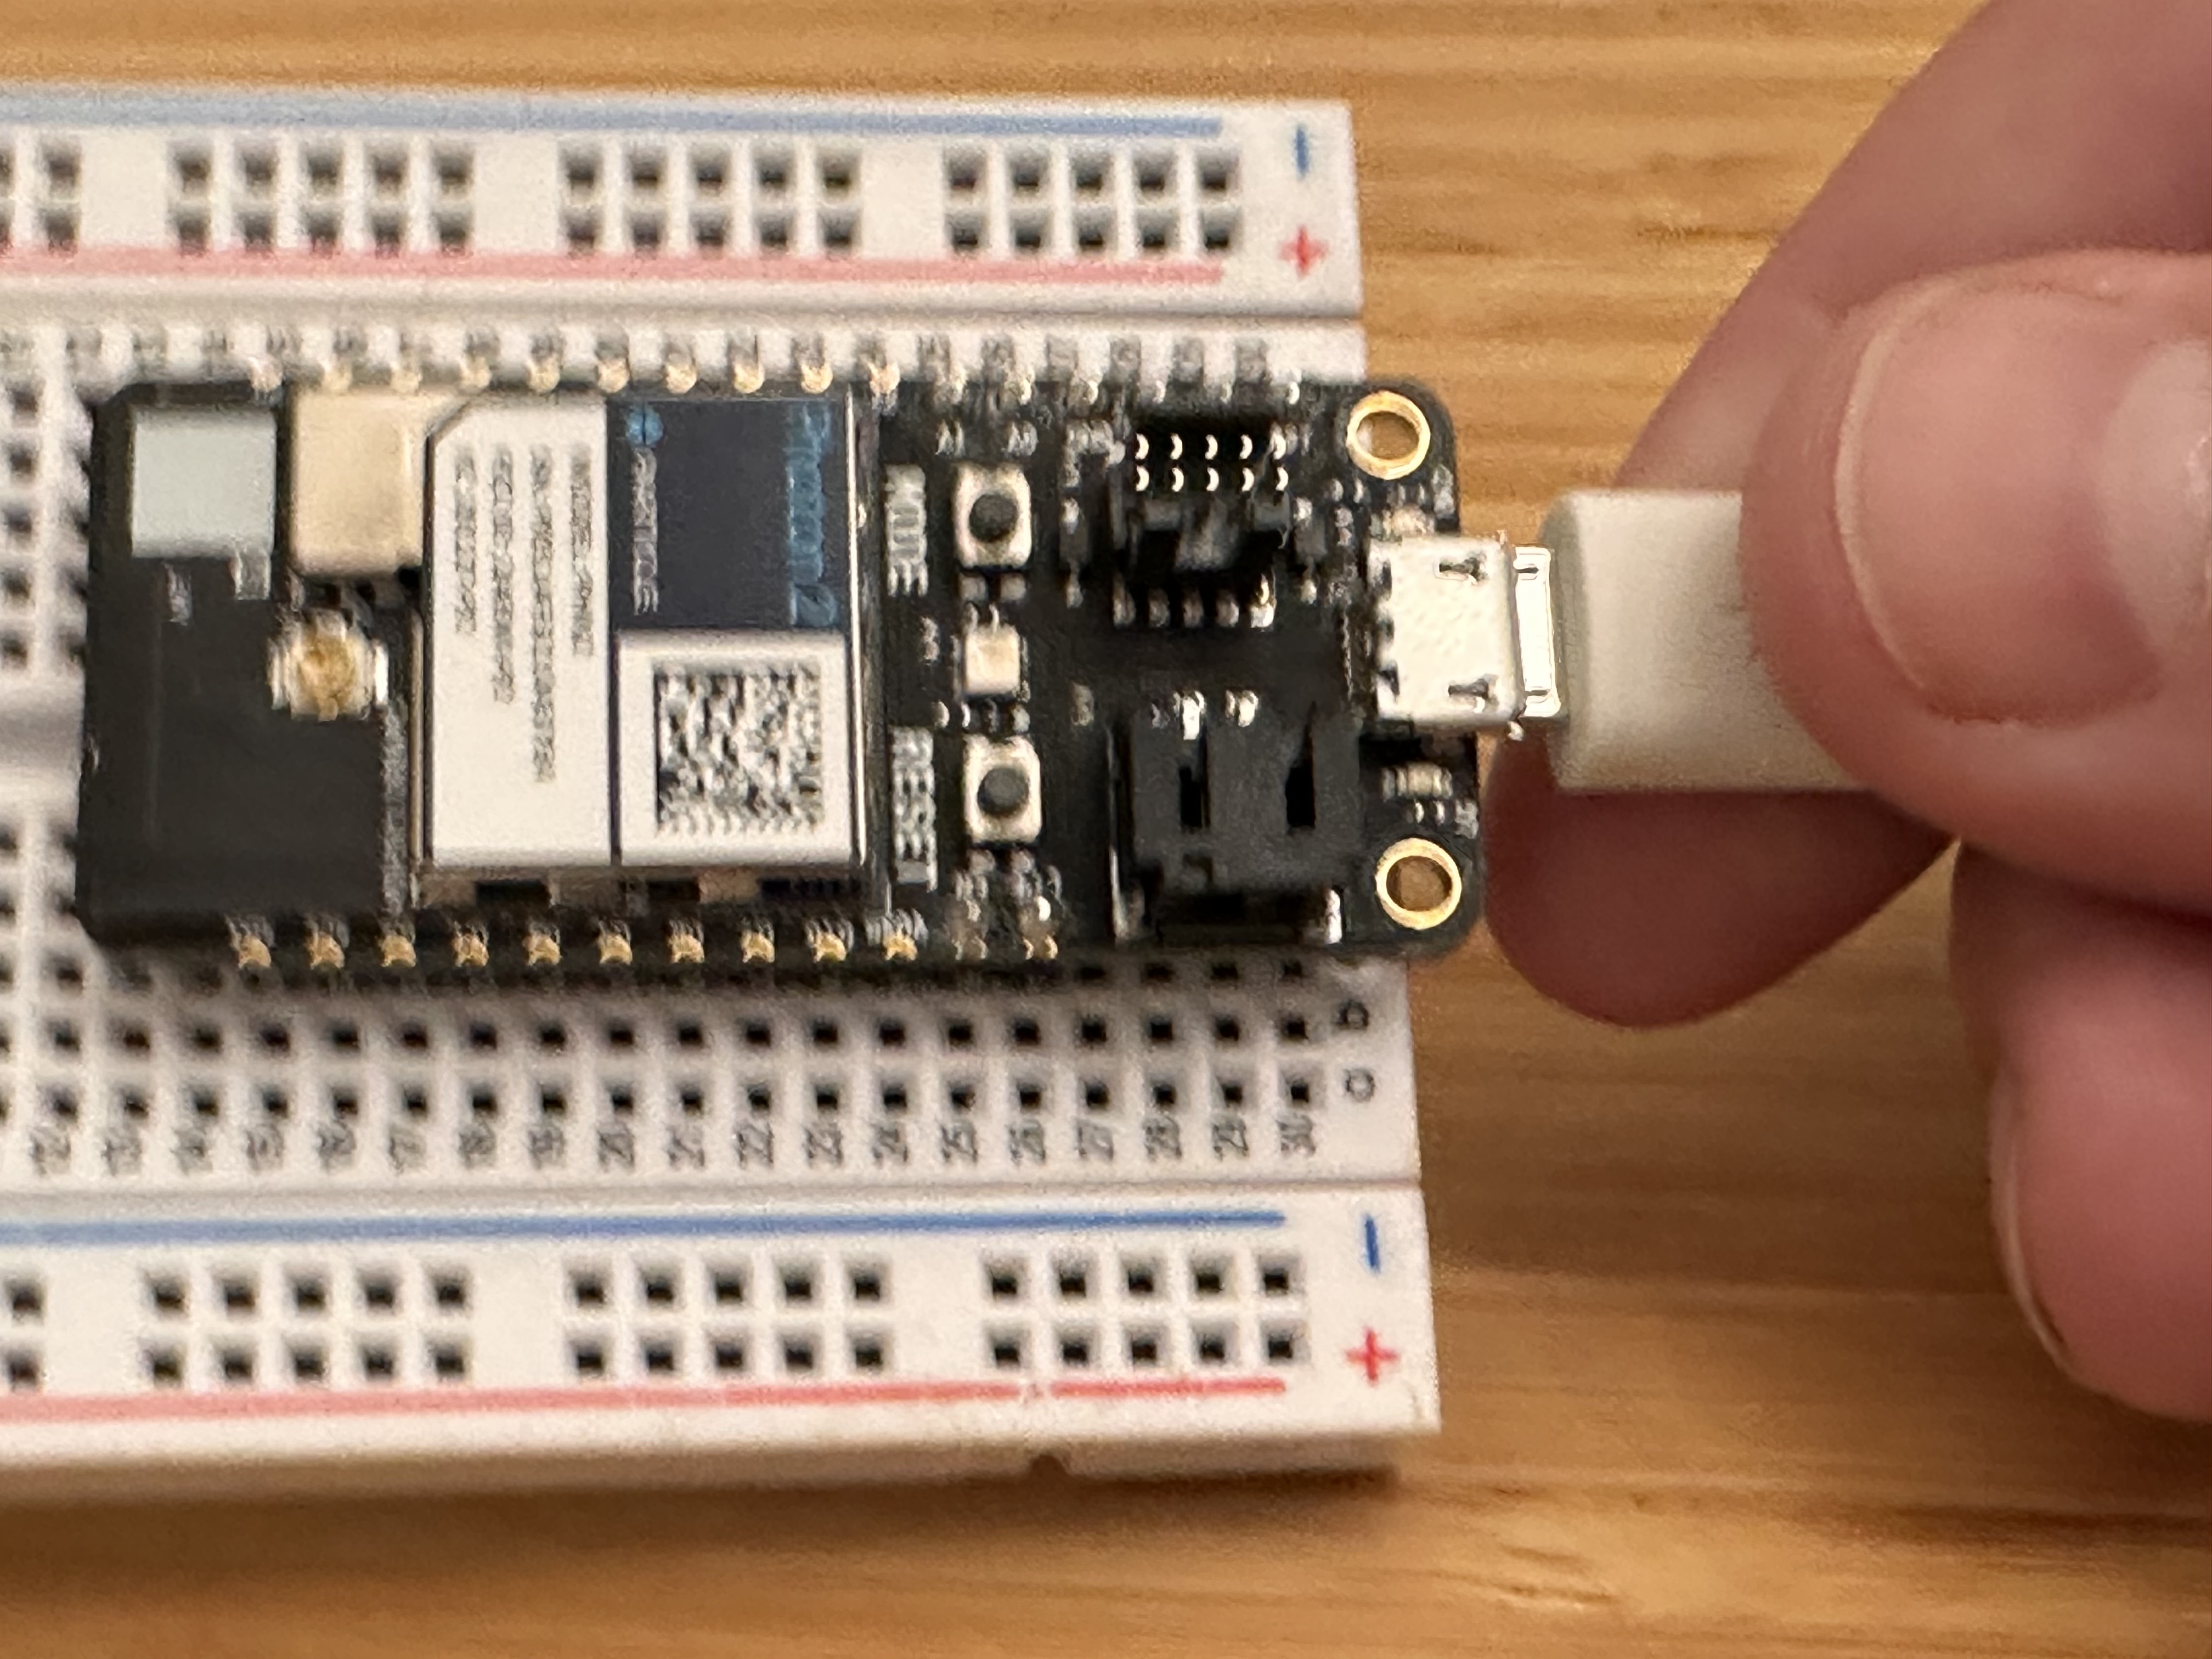
Photon with USB cabel attached
Step 4: Insert the Photon into the Breadboard
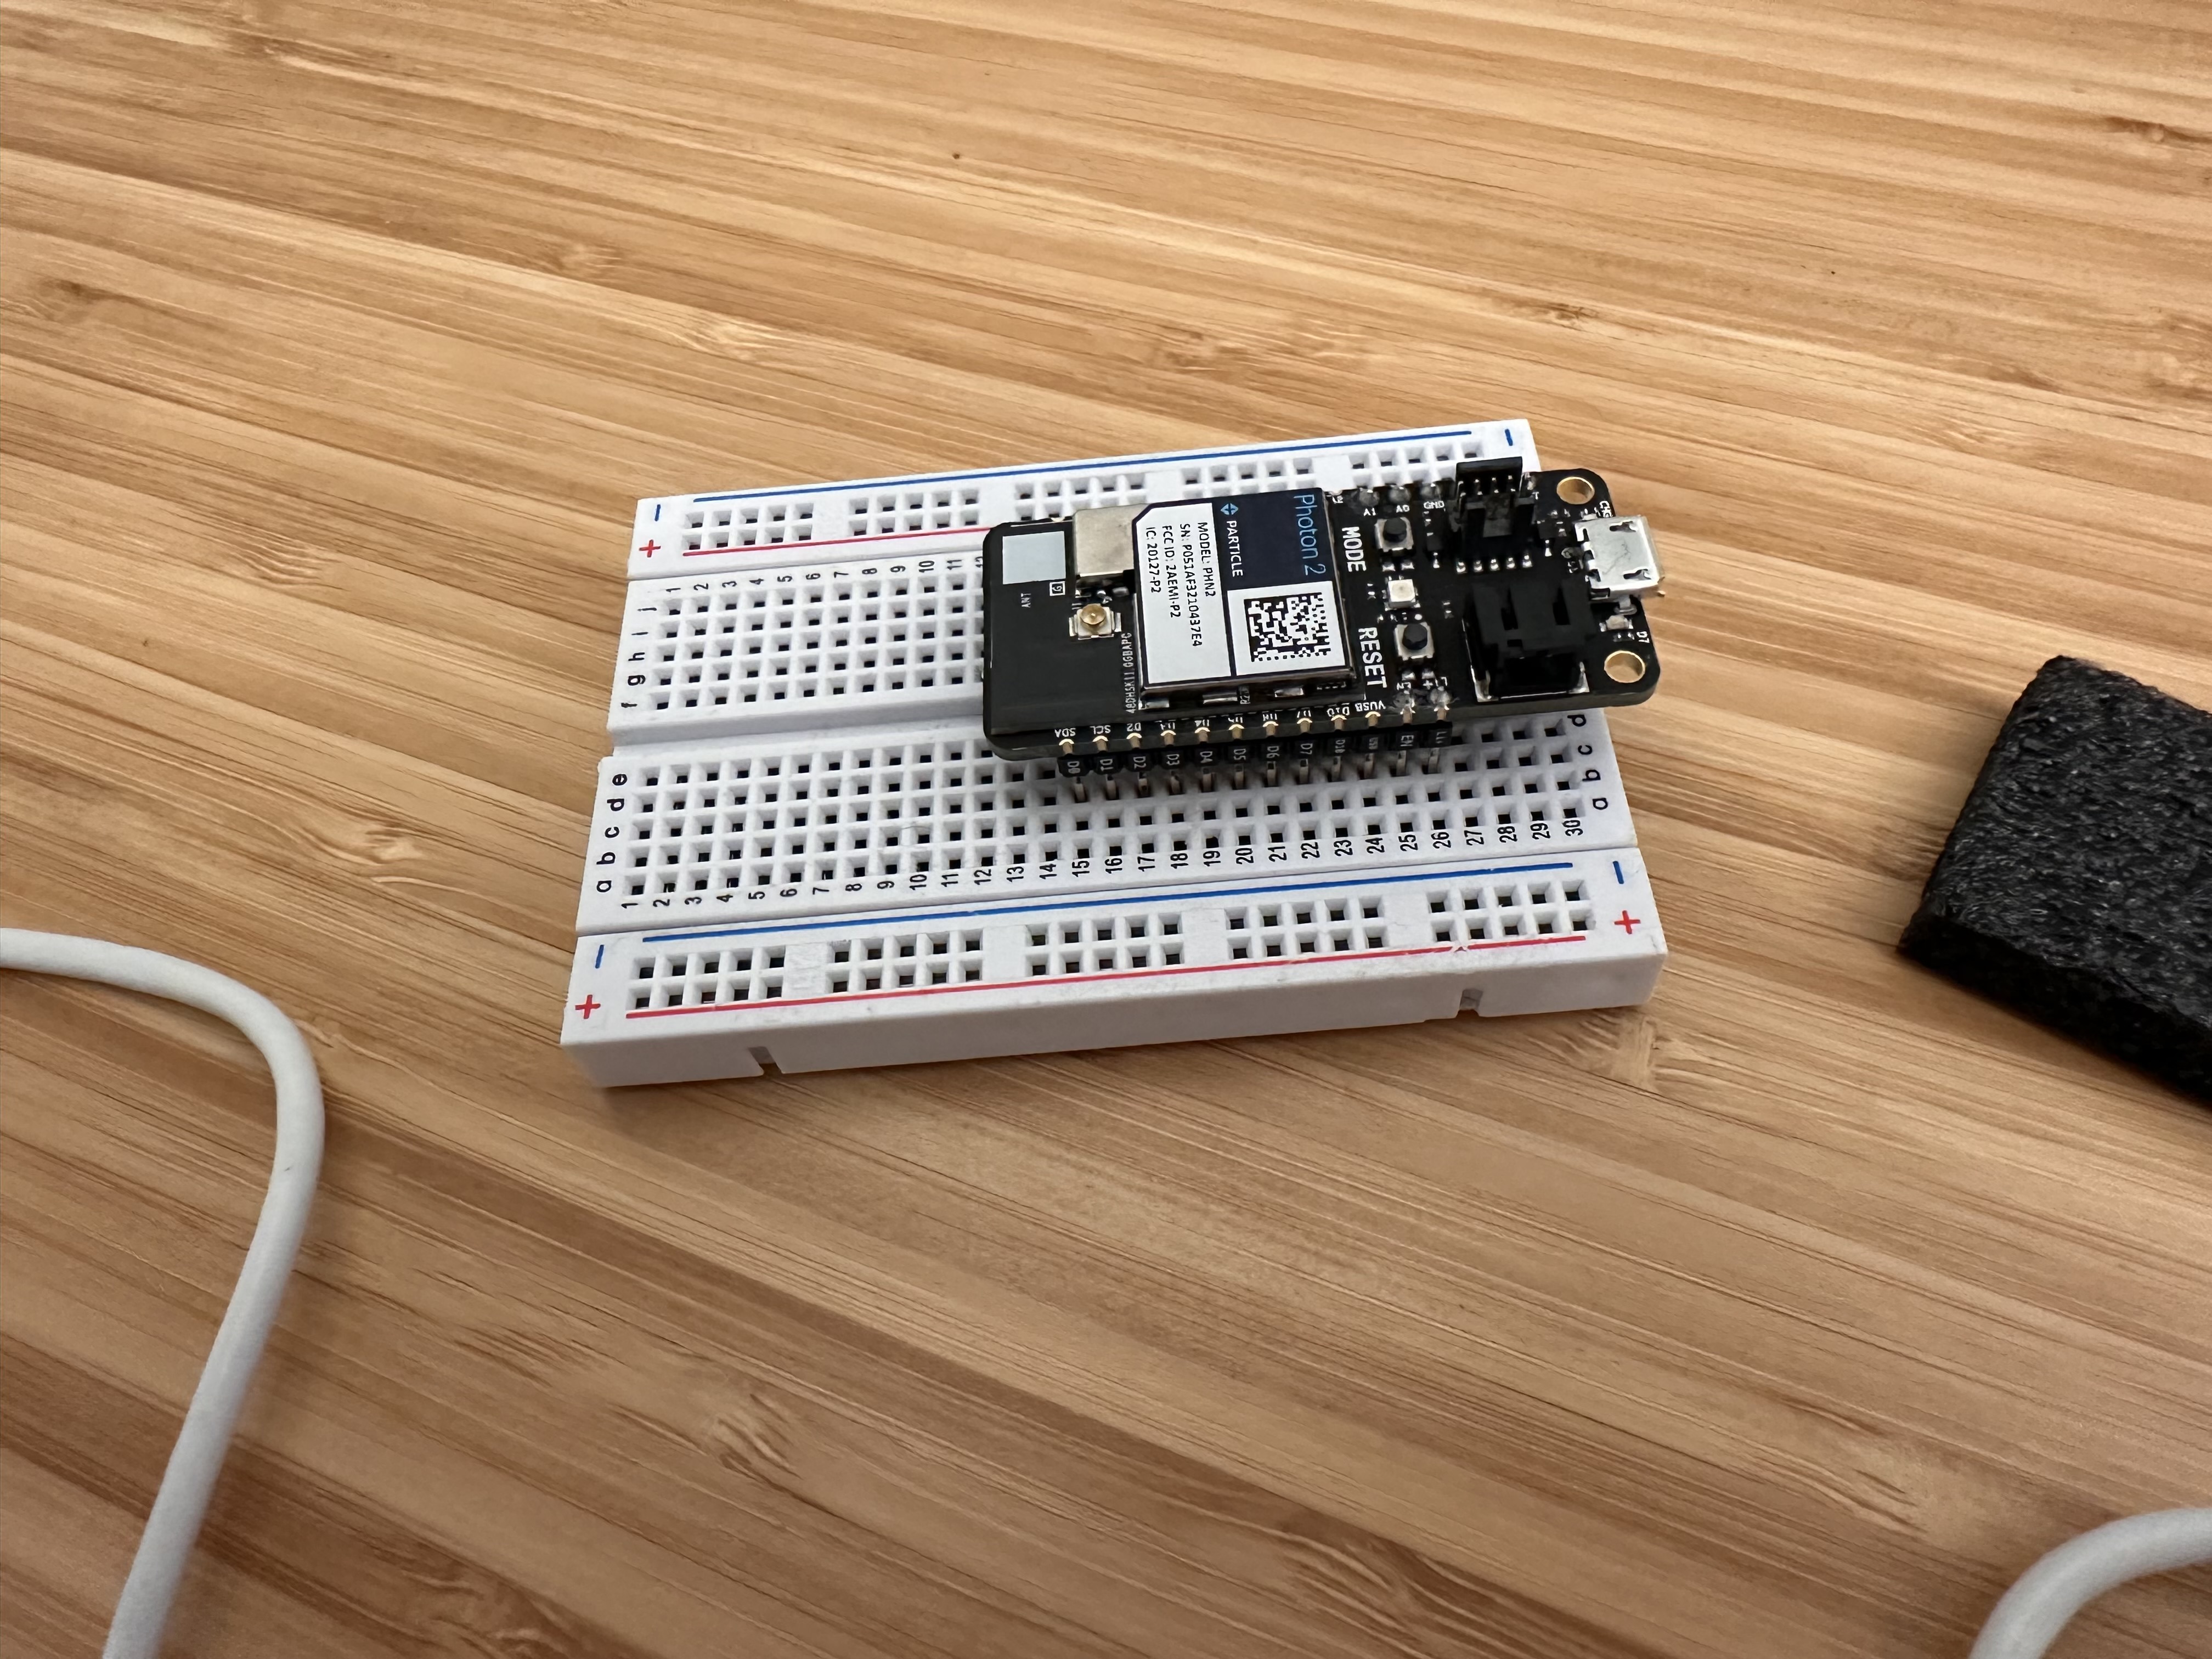
Inserting the Photon into the Breadboard.
The Breadboard is used to make electrical connections to components you want to control with your Particle microcontroller. The Photon has a series of pins or terminals on either side. These align with the breadboard.
To insert your Particle microcontroller,
- Align the end with the USB cable to the left edge of the breadboard
- Check that the terminals or pins on both sides meet up with the holes in the surface of the breadboard.
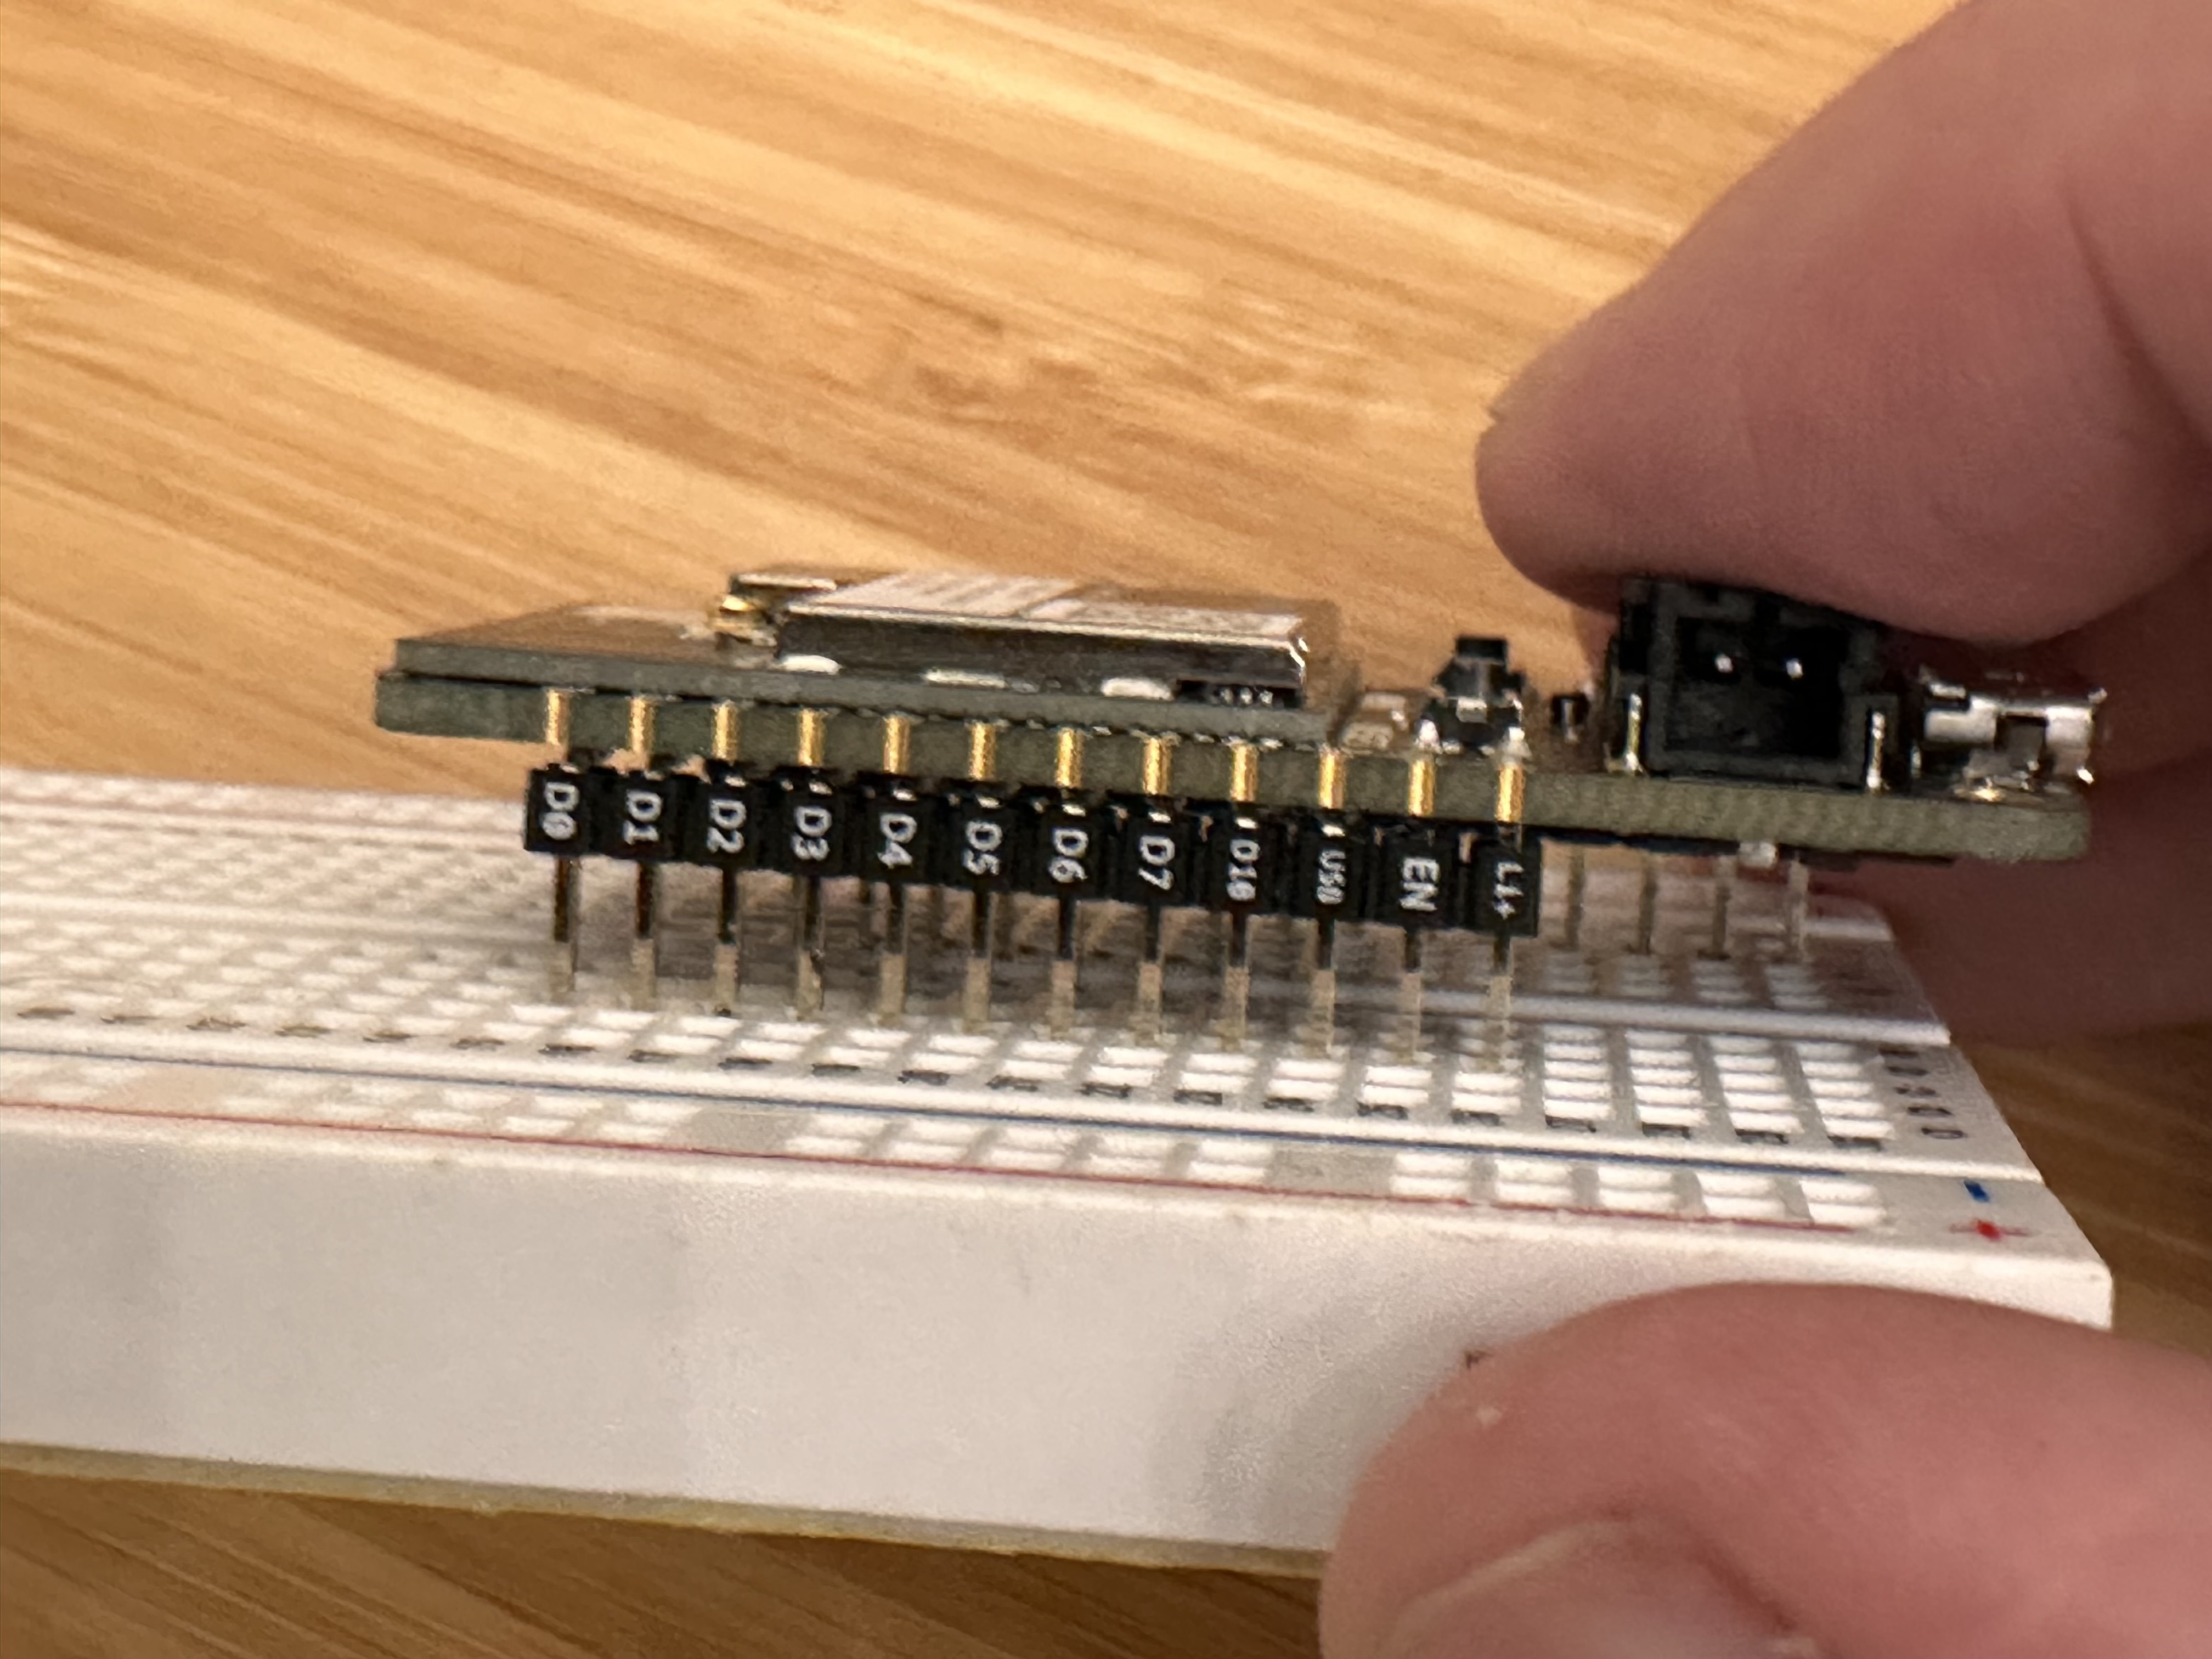
Inserting the Photon into the Breadboard. Aligning the terminals with the breadboard
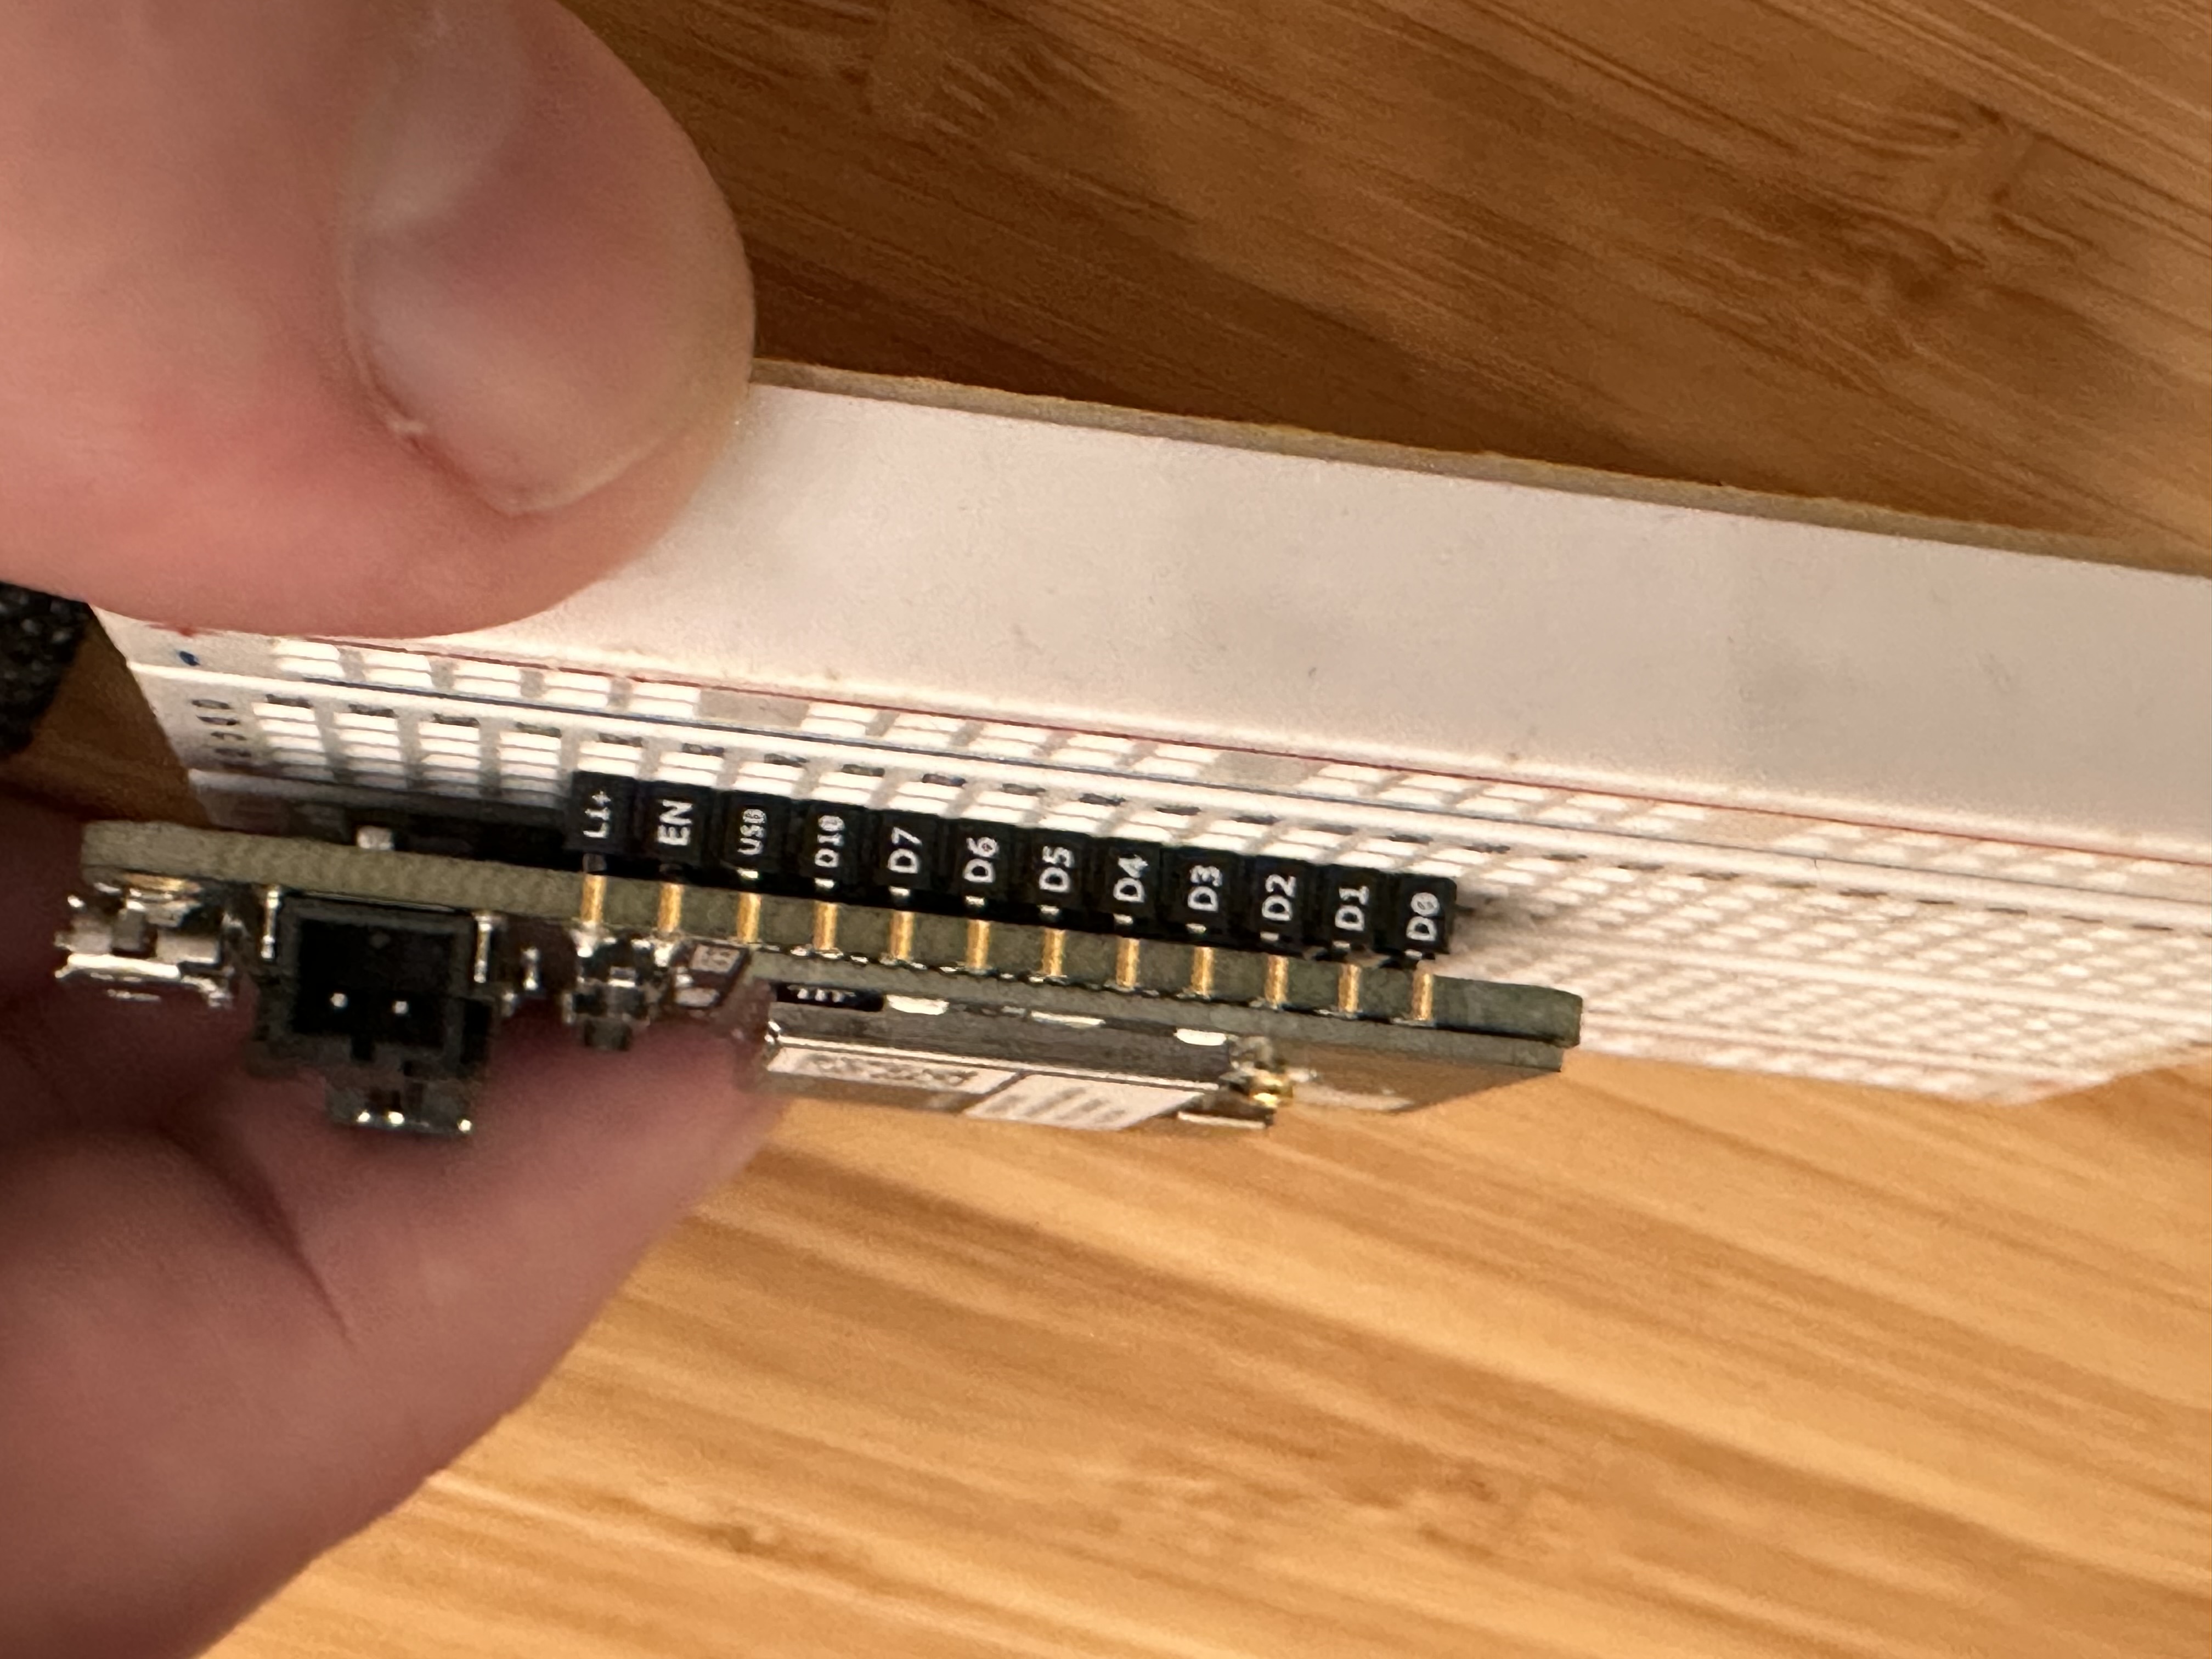
Once you have aligned them, gently depress one end of the Photon.

Inserting the Photon into the Breadboard. Inserting the Photon into the Breadboard
It should ease into the breadboard. Depress the other end and repeat this process until the microcontroller is flush (flat against) the breadboard. It should look like this:
An Photon inserted into the Breadboard.
Congrats! Your Photon is unboxed and ready to begin the next stage of setup.