Getting Data From Open Meteo with a Webhook
Table of contents
In this tutorial, we’re going to setup a webhook called get-forecast that will get information from Open Meteo - an online platform that specializes in weather forecasting.
When we’re finished, we’ll have set up a webhook that will ask for one bit of information - the latitude and longitude for the place you want weather info on - and it sends back four things:
- a descriptive label for the current weather in that location (e.g. cloudy, rain, etc.)
- the temperature
- the weather code (indicating if it’s clear skies, foggy, drizzly, etc.)
- the windspeed
- the wind direction
We’ll connect this into our code, have it look up weather information for Pittsburgh (lat: 40.4406, long: -79.9959), and collect the response!
Getting Started
To get started you’ll need to register for a DarkSky account.
-
Visit https://open-meteo.com/en/docs and move through the URL builder
- Add the coordinates for the city you’d like weather for.
- Under
Settings, enable ‘current weather with temperature and set the units to your preferred measures. - Click
Preview Chartto update the URL
-
Once you’ve once you’ve done, this, you’ll see an API URL that looks like
https://api.open-meteo.com/v1/forecast?latitude=52.52&longitude=13.41&hourly=temperature_2m¤t_weather=trueThis is the URL we’ll use as part of our Webhook to request information. You’ll see it contains a) the latitude and longitude of the location you want to get weather predictions about and b) the parameters you’ve configured in the settings section. If you visit the link you’ll see a big detailed response like:
{"latitude":52.52,"longitude":13.419998,"generationtime_ms":0.4019737243652344,"utc_offset_seconds":0,"timezone":"GMT","timezone_abbreviation":"GMT","elevation":38.0,"current_weather":{"temperature":1.3,"windspeed":13.0,"winddirection":95.0,"weathercode":3,"time":"2022-11-30T16:00"},"hourly_units":{"time":"iso8601","temperature_2m":"°C"},"hourly":{"time":["2022-11-30T00:00","2022-11-30T01:00","2022-11-30T02:00","2022-11-30T03:00","2022-11-30T04:00","2022-11-30T05:00","2022-11-30T06:00","2022-11-30T07:00","2022-11-30T08:00","2022-11-30T09:00","2022-11-30T10:00","2022-11-30T11:00","2022-11-30T12:00","2022-11-30T13:00","2022-11-30T14:00","2022-11-30T15:00","2022-11-30T16:00","2022-11-30T17:00","2022-11-30T18:00","2022-11-30T19:00","2022-11-30T20:00","2022-11-30T21:00","2022-11-30T22:00","2022-11-30T23:00","2022-12-01T00:00","2022-12-01T01:00","2022-12-01T02:00","2022-12-01T03:00","2022-12-01T04:00","2022-12-01T05:00","2022-12-01T06:00","2022-12-01T07:00","2022-12-01T08:00","2022-12-01T09:00","2022-12-01T10:00","2022-12-01T11:00","2022-12-01T12:00","2022-12-01T13:00"],"temperature_2m":[3.9,3.7,3.5,3.5,3.2,3.2,3.2,3.1,3.2,3.5,3.8,3.9,4.1,3.7,3.0,1.9,1.3,1.4,1.6,1.3,0.9,1.1,1.1,1.1,0.9,0.8,0.8,0.7,0.5,0.5,0.7,0.7,0.8,1.0,1.6,1.7,2.3,2.3,2.6,2.5,2.2,2.1,1.9,1.7,1.6,1.5,1.5,1.4,1.4,1.4,1.4,1.4,1.3,1.2,1.1,1.1,1.2,1.5,1.9,2.1,2.6,2.7,2.5,2.0,2.2,1.9,1.6,1.2,0.9,-0.1,-0.3,-0.4,-0.4,-0.5,-0.5,-0.6,-0.6,-0.6,-0.6,-0.7,-0.7,-0.6,-0.5,-0.4,-0.2,-0.1,-0.1,-0.3,-0.2,-0.2,-0.3,-0.3,-0.3,-0.3,-0.3,-0.3,-0.2,-0.2,-0.1,-0.1,-0.0,-0.0,0.1,0.2,0.3,0.6,1.0,1.4,1.9,2.1,2.1,2.1,2.0,1.9,1.7,1.7,1.8,1.8,1.8,1.9,1.9,1.9,1.9,1.8,1.8,1.7,1.7,1.8,1.9,2.2,2.5,2.8,3.1,3.2,3.1,3.0,2.9,2.8,2.7,2.6,2.5,2.4,2.4,2.3,2.2,2.2,2.2,2.1,2.1,2.1,2.1,2.1,2.1,2.3,2.6,3.0,3.4,3.4,3.3,3.1,3.0,2.8,2.7,2.6,2.5,2.4,2.3,2.3]}}
This is known as a JSON (or javascript object notation) formatted response. It’s a common format for sharing raw data through API or web service calls. Particle webhooks require the web resource you want information from to respond with a JSON reply. If it doesn’t send information in this way - it might not work with a webhook.
You’ll also notice the volume of information this web response contains. It’s a lot. More information than our particle device can handle; and this explains why we can’t just have our Particle microcontroller directly request the information.
Using a service like JSONPrettyPrint, you can reformat the response into something more organized and readable. I recommend doing this as you experiment with webhooks. After doing this, the data will look more like this:
{
  "latitude": 52.52,
  "longitude": 13.419,
  "elevation": 44.812,
  "generationtime_ms": 2.2119,
  "utc_offset_seconds": 0,
  "timezone": "Europe/Berlin",
  "timezone_abbreviation": "CEST",
  "hourly": {
    "time": ["2022-07-01T00:00", "2022-07-01T01:00", "2022-07-01T02:00", ...],
    "temperature_2m": [13, 12.7, 12.7, 12.5, 12.5, 12.8, 13, 12.9, 13.3, ...]
  },
  "hourly_units": {
    "temperature_2m": "°C"
  },
  "current_weather": {
    "time": "2022-07-01T09:00",
    "temperature": 13.3,
    "weathercode": 3,
    "windspeed": 10.3,
    "winddirection": 262
  }
}
Great. Now you can see exactly what it contains. A lot. For this scenario, however, I really only care about the current weather. And I can see that this is contained in a object called current_weather. current_weather has a lot of child elements including time and temperature which is 13.3. We can use this nested structure to specify what information you want to include in your webhook response and filter it down. This is done with a simple templating language
For example, if I only only want the current temperature I could access this by using `` or the wind speed by using . We’ll get back to this later.
For now you’re set up, your API key is working and you have a URL that you can use to request information as part of your webhook. Now, let’s create the webhook.
Setting up a webhook - Getting the Weather
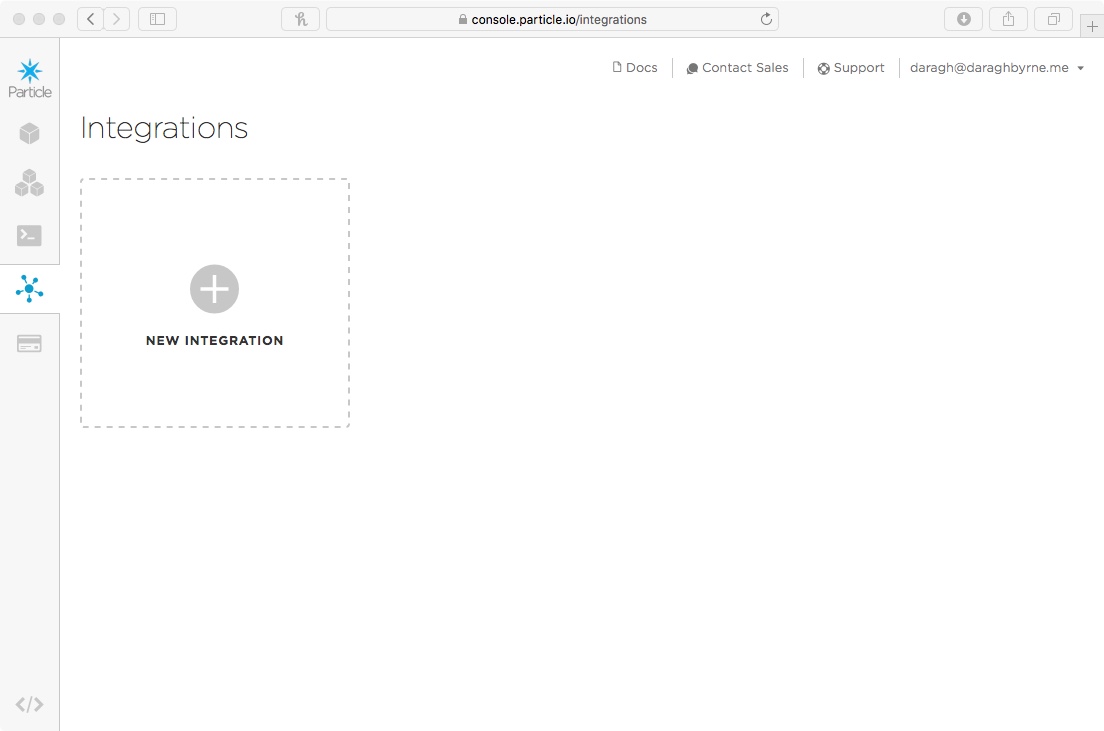
Go to the Particle Console and sign in. On the left hand side there’s a small icon bar, you’ll find an option for ‘Integrations’.
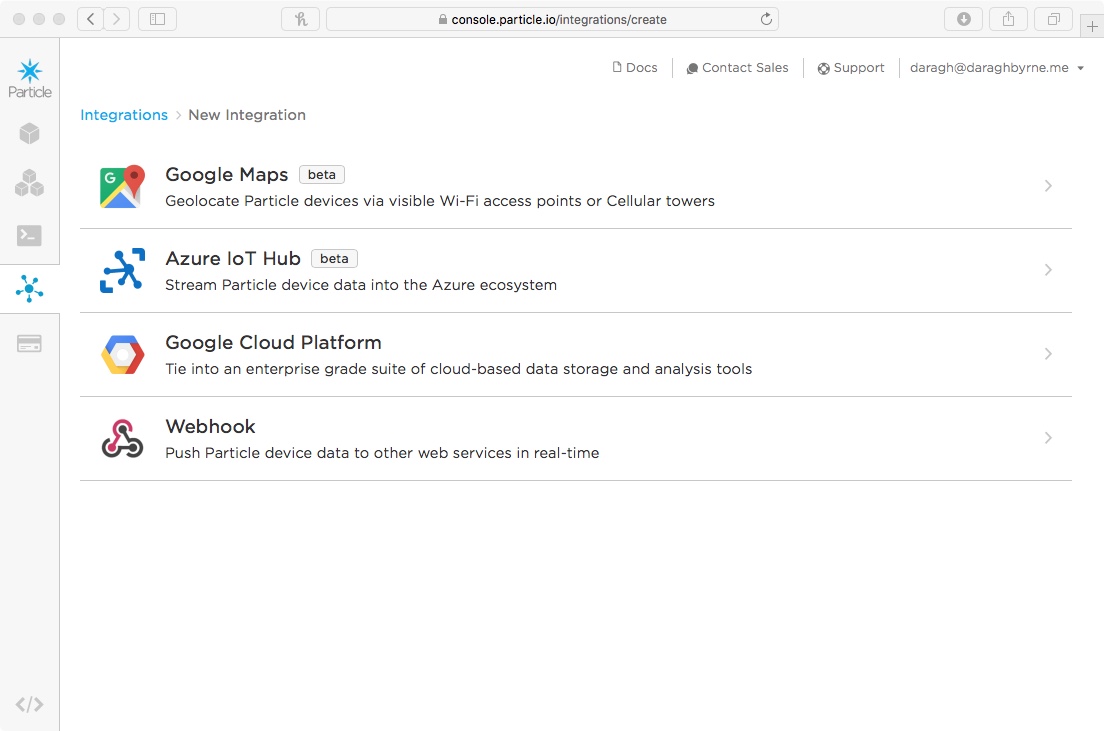
Click it and choose the option to add a new integration. You’ll get four options like this. Choose the webhook.
You’ll then be asked to add the info for your webhook.
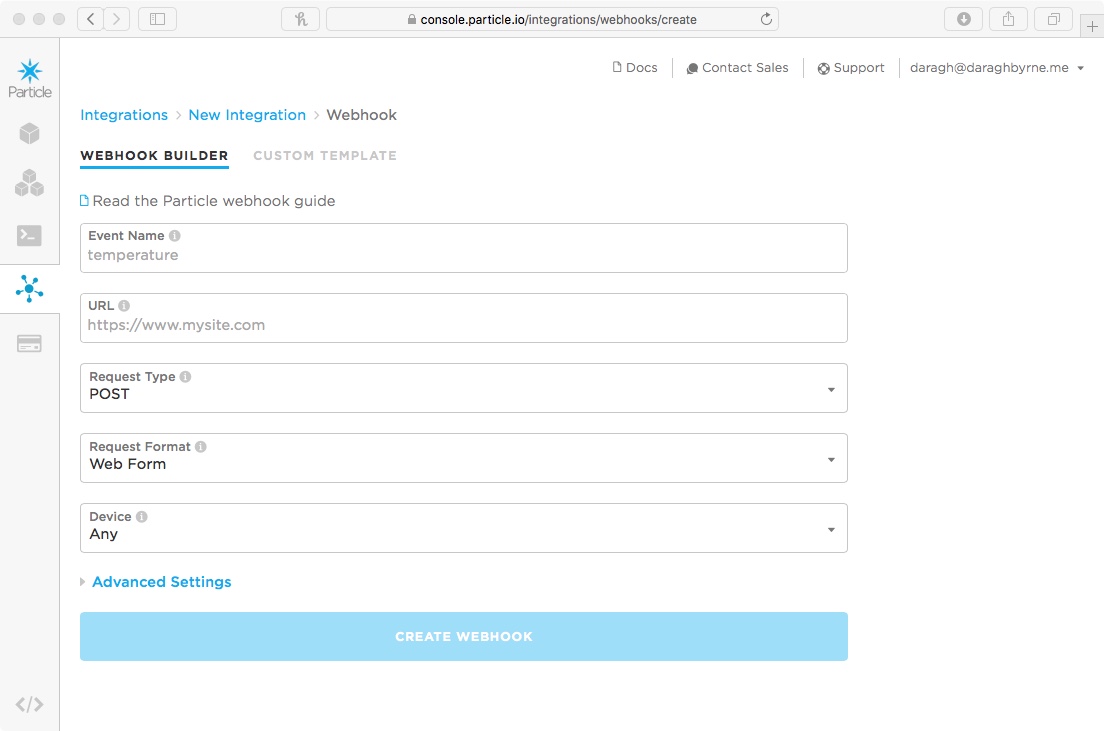
Add the following:
- Event Name:
get-forecast - URL:
https://api.open-meteo.com/v1/forecast?latitude=52.52&longitude=13.41&hourly=temperature_2m¤t_weather=true - Request Type:
GET - Request Format:
Query Parameters - Device:
Any
Select the Advanced Options:
- Under
Response Template, add the following:
{{current_weather.temperature}}~{{ current_weather.weathercode }}~{{ current_weather.windspeed }}
This is your response template. It will filter out the current temperature, precipitation and icon. Each will be separated by a ~
Then create the WebHook!
Requesting Weather Information
We’re going to add two pieces of code to help get data on the weather in Pittsburgh Copy and paste the following into the end of your code file
void getData()
{
	// Publish an event to trigger the webhook
  Particle.publish( "get-forecast" );
}

// This function will handle data received back from the webhook
void handleForecastReceived(const char *event, const char *data) {
  // Handle the integration response

  String receivedStr =  String( data );
  int loc1 = 0;
  int loc2 = 0;

  loc1 = receivedStr.indexOf("~");

  temperature = receivedStr.substring(0,loc1);

  loc2 = receivedStr.indexOf("~",loc1+1);
  weatherCode = (double) String(receivedStr.substring(loc1+1,loc2)).toFloat();

  windSpeed = (double) String(receivedStr.substring(loc2+1)).toFloat();

}
The following codde will break up the string based on the position of the ~ and extract the bits of information we care about. Finally it converts the right information to numbers where appropriate.
Making progress.
Now you also need to tell your Particle to listen for the response to the webhook. To do this, add this line of code to the end of your setup()
Particle.subscribe("hook-response/get-forecast", handleForecastReceived );
This registers for the webhook response and maps it into the function we just added…
Now one last thing, we need to publish the event and trigger the webhook. Let’s do this when the device first starts. To do this, add the following line right before the end of the setup()’s last curly bracket.
	getData();
}
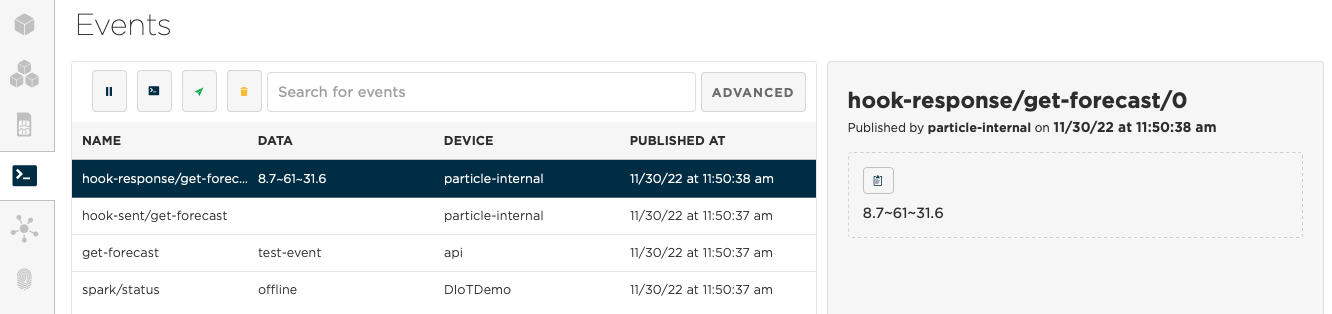
You know the drill. Save your code. Flash your code. Fingers crossed. It’ll appear on your Particle! To know if it worked, open up the console (http://console.particle.io) and you should see something like this when the device restarts
Nice work!