Power It Up!
Table of contents
In the last section you’ve opened your Argon Kit, remove the packaging, and done the basics for setup. In th
Quick Check
-
Make sure your USB cable is connected
-
Make sure your Argon is now inserted in a breadboard.
If not, go back and revisit the previous guide.
USB Cable
Go ahead and plug the USB cable into a power source (e.g. your laptops USB port).
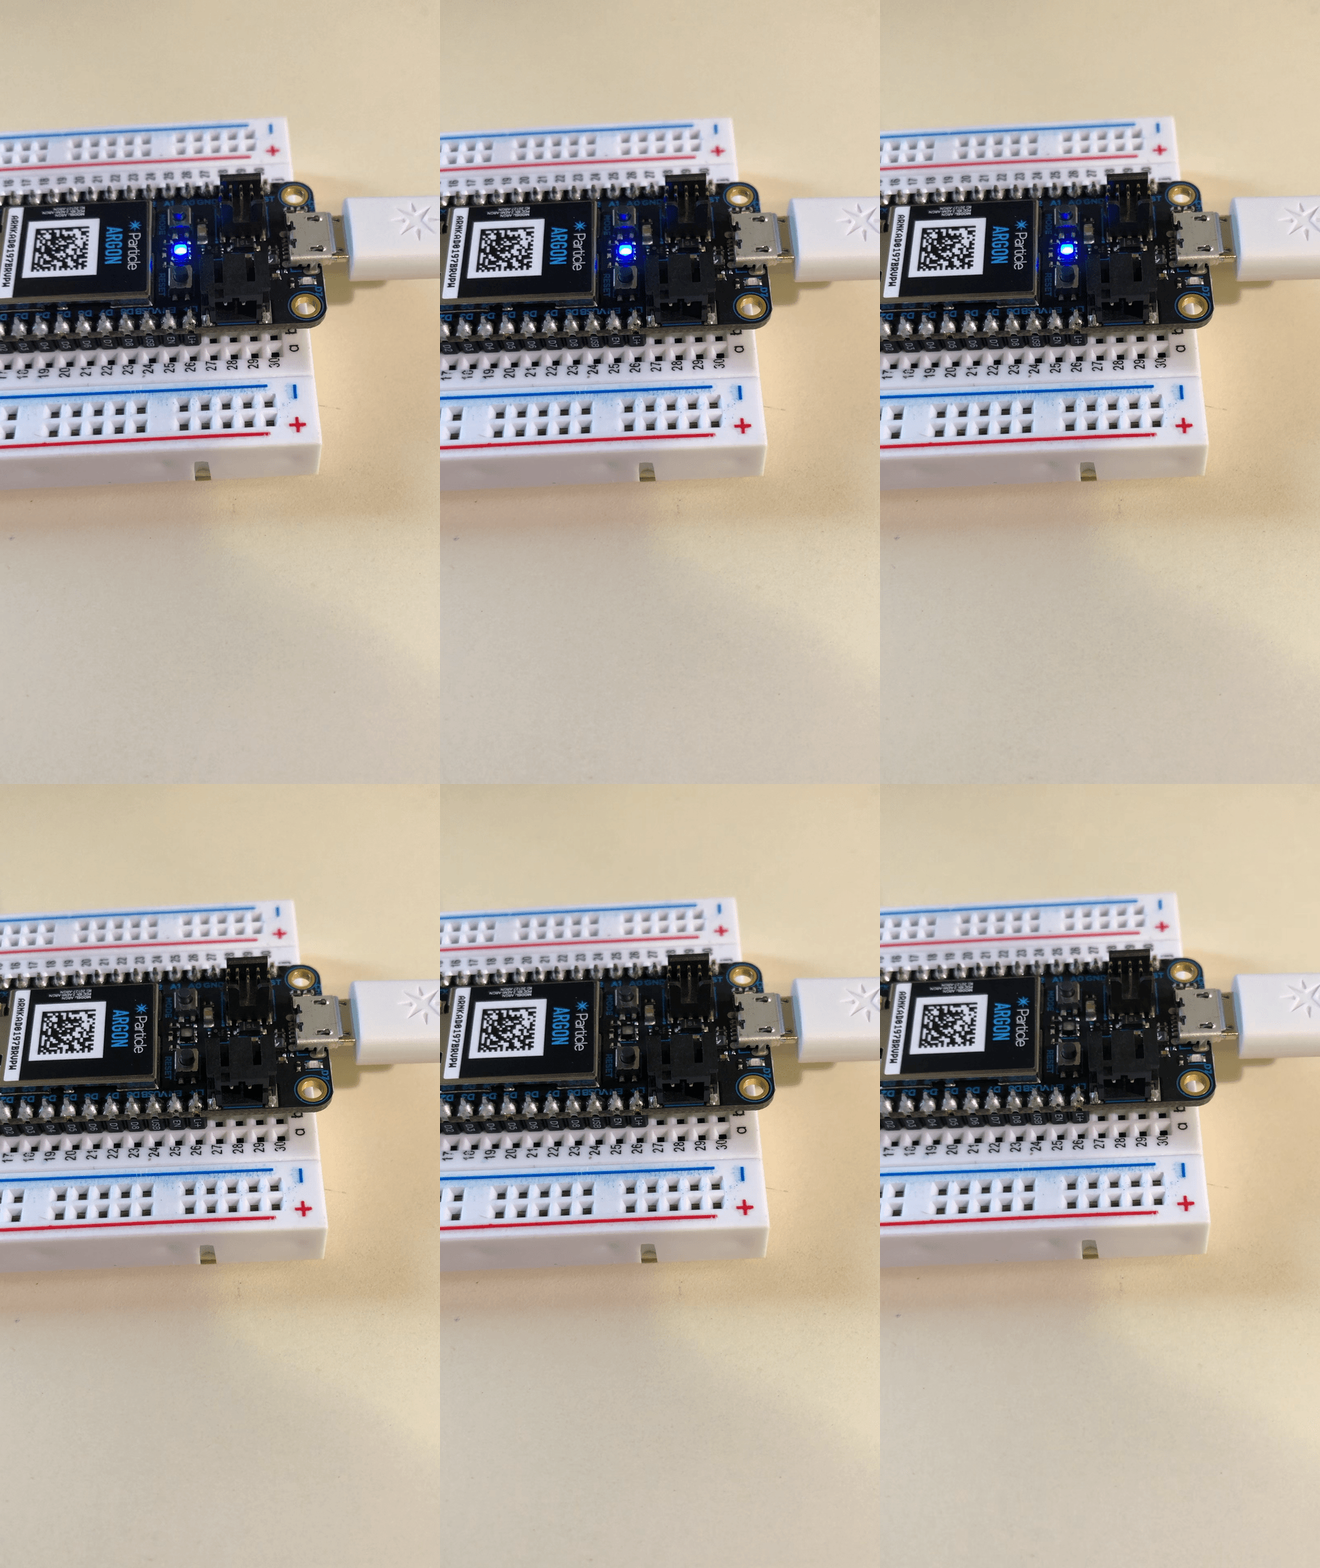
Your Argon will light up and you will see (hopefully something like this)

The Argon (previous generation Board) when in listening mode will blink blue. The Photon2 looks a little different but the status LED works exactly the same
Status Indicator: Listening mode
The devices’s light will flash Blue. This is called listening mode. This means it doesn’t know how to connect to the Wireless network… yet and is waiting for you to tell it how to connect
It’s not blinking blue…
Hold down the MODE button (button to the left of the main LED) until it starts blinking blue.
If all looks well, you are good to begin pairing your Photon2 with your Particle Cloud account. That’s next up.