Getting Familiar with Soldering
Table of contents
- Soldering is really important because:
- Soldering allows:
- Tools for soldering
- A guide to soldering
- Tinning - Watch this video:
- Soldering Guide - Watch this video:
- Steps for soldering:
- Check your joint
- Tips and Common Mistakes
- Don’t panic
- Using Heat Sinks
Soldering is an essential skill for prototyping electronics and interactive systems with microcontrollers.
Why?
- First, working with breadboards is hard, and sometimes you’ll want your components to fit into other forms.
- Second, some of your components won’t come with terminals or pins that neatly fit into your breadboard.
- Third, when you start to build more advanced solutions, you’ll want to be able to permanently make connections so when you deploy and test your product wires don’t come loose easily - hook up wire tends to do that!
Soldering is really important because:
-
the breadboard is constraining and when you’ve build complex circuits,;
-
when you need to add complex components sensors or circuits you need to give them terminals
-
or large enclosures you might need to be able to break out of it
Soldering allows:
-
Components to be joined to a PCB (printed component board)
-
Sensors to be added to a breadboard
-
Components ‘reach’ to be extended
-
Wires to be joined and connected
Tools for soldering
-
The soldering iron: this heats a metal tip to very high temperatures and allows you to melt metal onto wires or other connections to make permanent connections between wires or circuit boards
-
Solder: This is what you melt onto your wires to join them using the tip of the soldering iron
-
Wirecutter: The wirecutter lets you cut wire! It has a series of gauges allowing you to strip back the protective coating on wire easily to expose some wire to make connections.
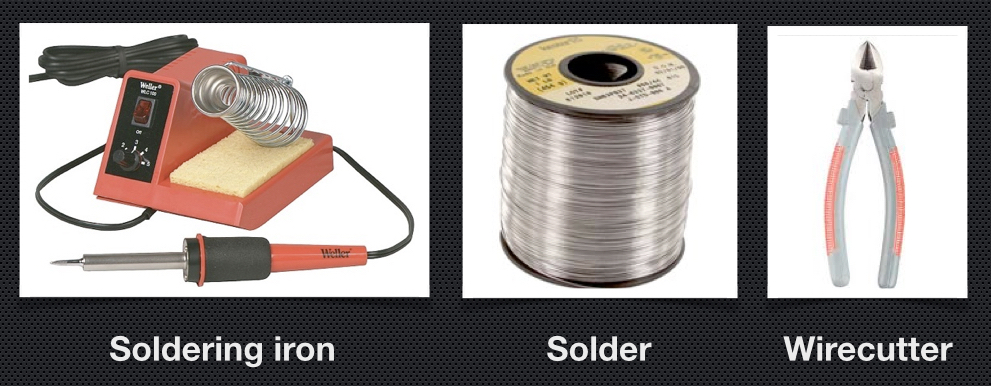
Tools for Soldering
A guide to soldering
Before you begin soldering, you should make sure your soldering iron’s tip is shiney. When it is bright and shiny it will transfer heat much better. A dull tip can lead to weakly soldered connections which are prone to breaking and separating.
[If your soldering iron is exceptionally dull, you might need to clean it. There’s tip tinner/cleaner in most of the labs you can use.]
Before we begin using our soldering iron we’ll want to tin it. First turn on the iron and heat it to around 780 by turning the dial.
Hot hot heat
Be careful! The soldering iron gets extremely hot and you can give yourself a nasty burn if you’re not careful.
Watch for solder that may drip too.
Tinning - Watch this video:
Video guide to tinning your soldering iron. Credit: Aaron Cake
When tinning, apply a lot of solder, coat the tip of the soldering iron liberally. Once the solder has been applied, just wipe off the excess on the damp sponge. After wiping it off, you should have a tip that’s extremely shiney. If its shiny it’s ready to use.
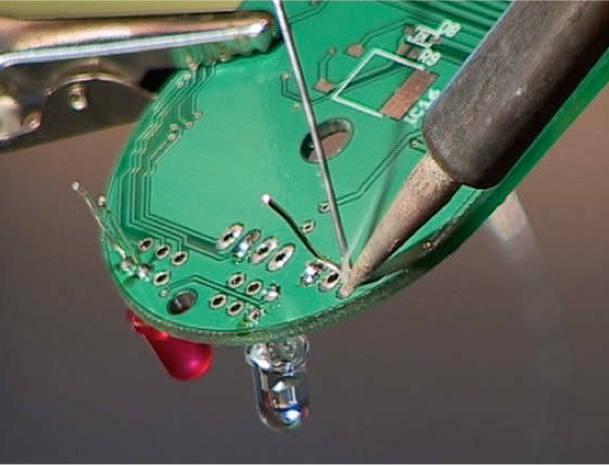
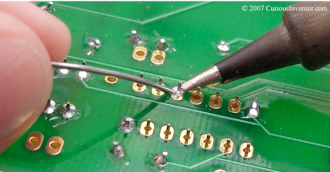
Soldering Guide - Watch this video:
Steps for soldering:
-
Turn on / heat up the iron
-
Check the tip of the iron is clean
-
Place the wires/components/board
-
Heat the joint with the iron
-
Feed in solder and it should spread
-
Remove iron, leave to cool (10 secs)
-
All done!
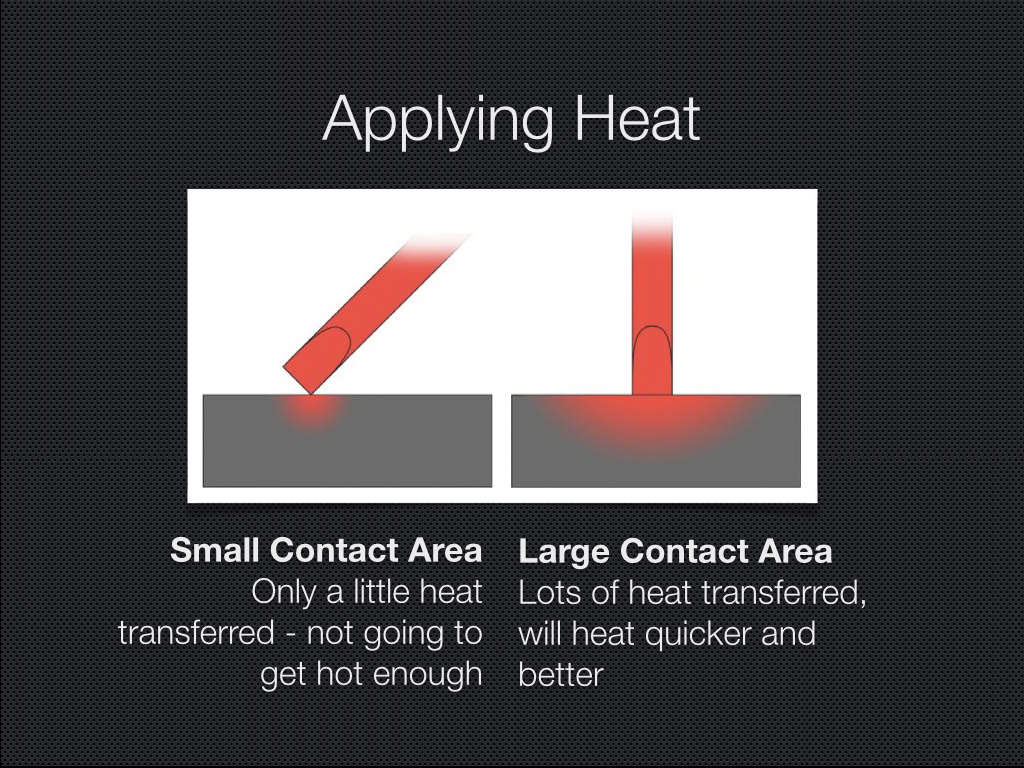
Tips for applying heat
Check your joint
Test your joint by gently pulling (not yanking) the wire and seeing if it is firm and well connected.
If it feels week, you can easily fix it by reheat the joint and apply some new solder. Don’t put hot solder on cold wires. Make sure you heat the both contacts/wire before appling new solder.
Tips and Common Mistakes
-
Not enough heat: The joint may look ok, but if the solder didn’t melt then you’ll have a ‘dry/cold’ joint. This means it will come apart easily.
-
Too much heat: Some components - like LEDs, semiconductors, switches. etc - are sensitive to heat and will get damaged if they are heated too much. Heat transfers along wires and may damage the components. It won’t hurt the joint but it’s useless if the component won’t work any more. If you’re soldering to a sensitive component, add a heat sink like an alligator clip to dissipate the heat
-
Not enough solder / too much solder: A thin connection can be problematic. It may look OK on the outside, but the connection between the two contacts mightn’t actually be made. Flip over the PCB to check if the solder has filled the pin completely
-
Moving the joint before you completed complete: This could create a fracture and at some point this could break the joint. It’s easily avoided by clamping your components in place while soldering, fix the board in place or making sure you’ve a steady hand!
-
Dirt or grease on the wire or joint: If a component or wire looks a little dirty, clean it off. Any contaminants or dirt will prevent the solder from sticking and a good connection being made. A bit of sandpaper will work a charm!
-
Soldering iron not clean - tip has carbon: Over time the tip will become burnt. This stops the tip heating up properly. You need to make sure that you clean by wiping it on the sponge and that your iron is always shiney.
-
Not testing the joint: Apply a little force to check its OK. Don’t just assume that because it looks OK it is.
Don’t panic
Don’t worry if you get it wrong, you can re-apply heat and try to fix it. You can also de-solder (using a suction pump or desoldering wick) to remove the solder you’ve applied, but it’s a bit tricky.
Thankfully, 9 times out of 10 you won’t need to desolder!
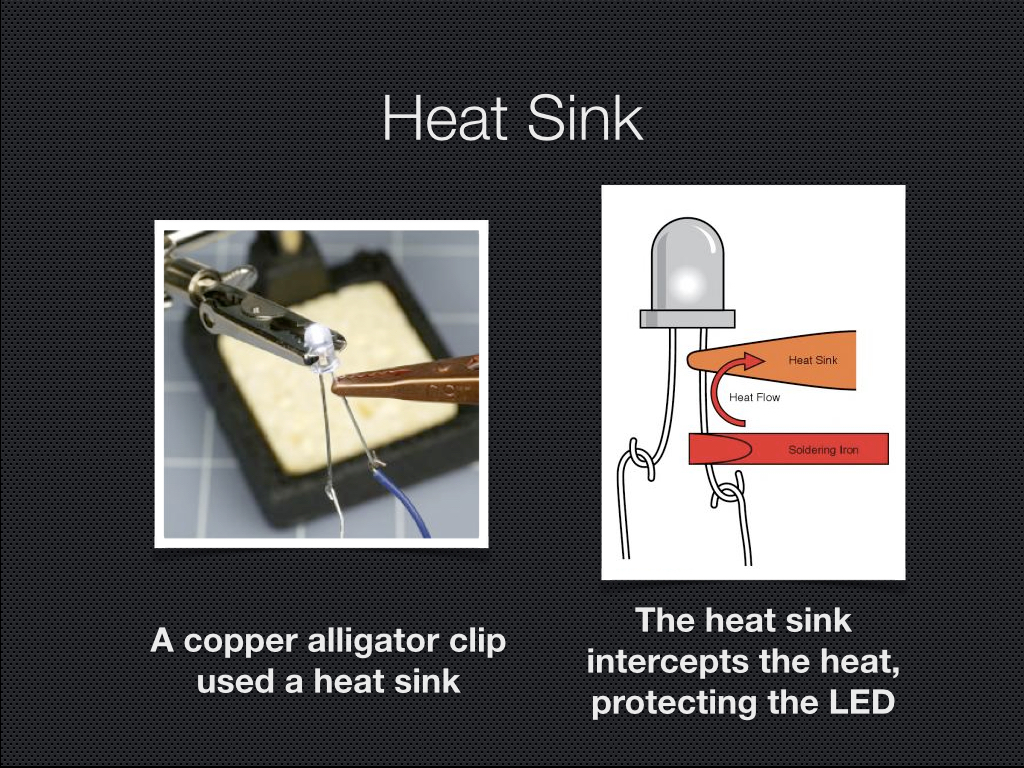
Using Heat Sinks
When soldering components, you should always try to use a heat sink. It protects the components from damage.
Using Heat Sinks
More and desoldering
In this guide we’ve covered the basics of soldering, but you can also desolder (or remove solder) from your components too. This guide developed by Alex Glow at Adafruit provides some tips on this.